7 Mar 2025
- 0 Comments
So, you're thinking of adding more urad dal to your dosa batter—what's that going to do? Well, if you've ever had a super soft and fluffy dosa that feels like clouds melting in your mouth, there's a good chance it had a healthy dose of urad dal. This humble lentil is the magic behind that airy texture.
First off, let's chat about texture and taste. When you up the urad dal, your dosas usually become softer and a bit more chewy. It's all about that balance, though—too much, and you might end up with a batter that's tough to spread. Also, the taste can get a tad nuttier, which might be right up your alley.
- The Basics of Dosa Batter
- Impact on Texture and Taste
- Nutritional Benefits
- Fermentation and Cooking Tips
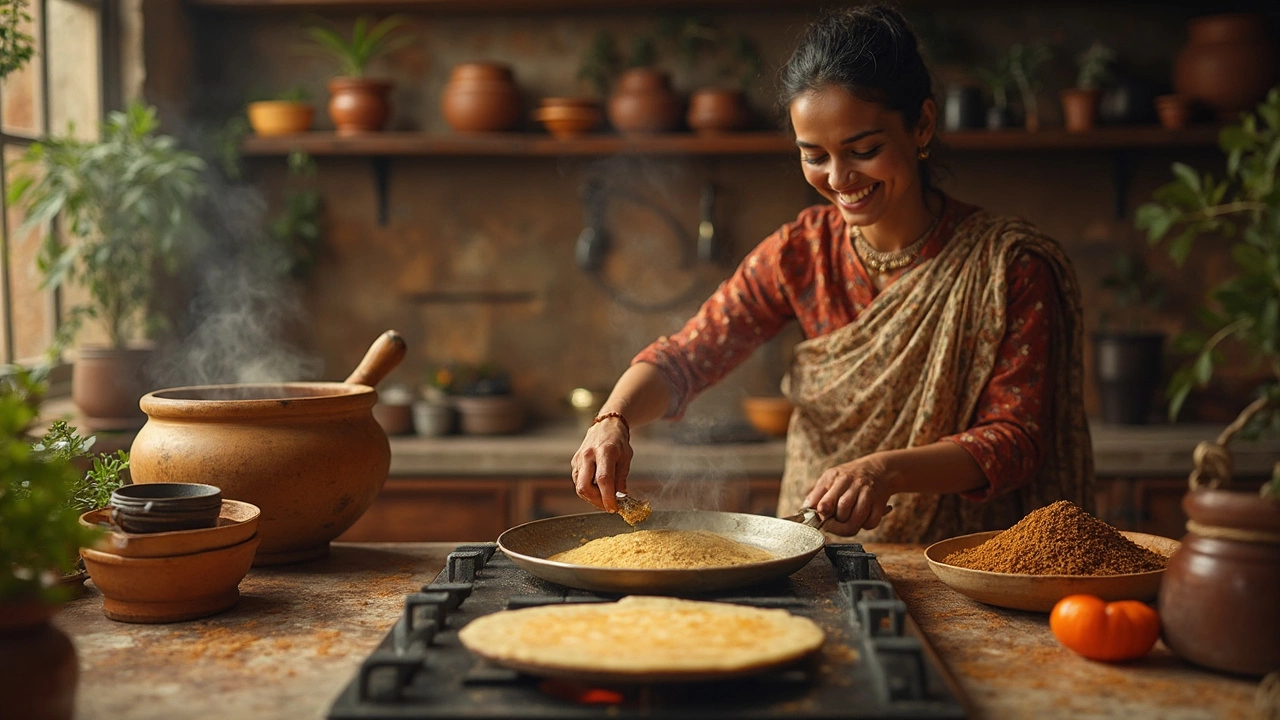
The Basics of Dosa Batter
Alright, let's get to the heart of what makes a dosa batter tick. Whether you're a seasoned cook or just starting with this South Indian staple, nailing the batter is everything.
Key Ingredients
The traditional dosa batter is a simple mix of two main ingredients: rice and urad dal. The usual ratio is about 3 parts rice to 1 part urad dal, but that can change depending on your personal taste or dietary needs.
Soaking Process
Start by thoroughly washing the rice and dal separately. This step isn't just to clean them—it's important for the fermentation process. Soak them each in water for around 4-6 hours. This lets them absorb enough water, making them easier to grind and eventually ferment.
Grinding the Batter
Once soaked, it's time to grind. Use a wet grinder if you have one; it gives the batter a great, smooth consistency. Grind the urad dal first until it's fluffy and light. Then, grind the rice to a smoother paste, mixing both and adding water as needed to get a pourable consistency.
Fermentation Magic
The next step requires some patience. Let the batter sit overnight or for around 8-12 hours in a warm place to ferment. This is where the sour taste and airy texture come from. In colder climates, you might need a bit longer.
Troubleshooting Tips
- If your kitchen's cold, try placing the batter in the oven with just the light turned on for extra warmth.
- Too much water in the batter? Add a tablespoon of rice flour to thicken it up.
Once fermented, your dosa batter is ready to hit the pan. It should have a slight increase in volume and a bit of a bubbly surface. You're all set to make those golden brown, crispy dosas!
Impact on Texture and Taste
When you add more urad dal to your dosa batter, you're essentially amplifying its ability to turn your dosa into something incredibly soft and pliable. Think of it like adding extra fluffiness; it can be a real game-changer if you love that melt-in-the-mouth feel.
Here's the scoop: Urad dal is rich in protein and fibers, which, during the fermentation process, contribute to producing an airy and sticky batter. This is what leads to those divine soft layers in your dosa. With more lentils, your batter might look thicker, and that's perfectly fine. Just makes sure it's still spreadable—no one wants a lump on the pan.
Balancing Texture
While it gets you softer dosas, too much urad dal might make spreading a hassle. So, a good rule of thumb is to add just a bit more than what you usually do, perhaps an extra tablespoon or two for a small batch. Taste-wise, extra dal can give a slightly distinct nuttiness, subtle but noticeable for those with a discerning palate.
Taste Over Texture
And let's not forget the taste! More urad dal can make the dosa a tad creamy. If you like experimenting, try adding some fenugreek seeds as well. They complement the nutty flavor beautifully and help the fermentation process, too, which can be super important if you live in a cooler climate.
| Ingredient | Impact |
|---|---|
| Extra Urad Dal | Extra softness, chewy texture, nuttier flavor |
| Fenugreek Seeds | Enhances flavor, aids fermentation |
Ultimately, it's like any recipe tweak—experiment and see what hits your sweet spot. Start with small changes, taste the results, and adjust from there.
Nutritional Benefits
When it comes to boosting the nutrition of your dosa batter, adding more urad dal is like discovering a hidden gem. Why? Because urad dal is packed with proteins, which are crucial for body tissue repair and muscle building. It's one of those ingredients that does a lot more than just make your dosa softer.
Let's break it down further. Urad dal is loaded with iron, which helps boost your energy levels and is excellent for those who might be dealing with anemia. And guess what? It's also got a good amount of dietary fiber, so it's great for your digestion. Talk about a multitasker!
Vitamins and Minerals
Besides being rich in protein and fiber, urad dal is a decent source of vitamins like B-complex and minerals like magnesium and potassium. These nutrients work to maintain your heart health and keep your bones strong. It's like giving your body a mini wellness boost with every bite.
How Much More Is Okay?
While increasing urad dal in your batter is beneficial, a good rule of thumb is to not go overboard—somewhere around a 1:1 ratio with rice is a common approach. This keeps your dosa balanced nutritionally and flavor-wise. Remember, moderation is key!
Fermentation and Cooking Tips
Getting the fermentation just right is key when you're playing with more urad dal in the mix. So, what's the magic formula? Usually, the ratio of rice to urad dal is around 3:1, but with extra urad dal, you may go for 2.5:1 to achieve a fluffier texture.
Fermenting Like a Pro
Fermentation is where the magic happens! It'll give your dosas that perfect tang and texture. Warmer environments are your best friend here. Aim for a cozy spot in your kitchen—some folks even pop the whole container in the oven with just the light on, especially during colder months.
- Soak both rice and urad dal separately for about 4-6 hours.
- Grind them separately as well. The urad dal should be smooth and light, while the rice can have a slightly coarse texture.
- Combine them and add a pinch of salt before leaving it to ferment for about 8-12 hours.
Cooking Tips
Once your batter is well-fermented, it's time for the fun part—cooking! Here’s how to nail it:
- Heat Control: Keep the pan medium-hot. Too much heat can make the dosa crispy before it's fully cooked inside.
- Spread Evenly: Pour a ladle full of batter in the center and spread it in a circular motion. This helps in getting that thin, crispy edge.
- Cooking Oil: Use a small amount of oil, like a teaspoon, around the edges after spreading the batter.
- Patience Pays: Wait till the edges start to lift before you flip or remove it.
So, go ahead and experiment with this cooking tip—discover how the right balance in batter can make all the difference in your dosa recipe!