Roti Making Guide: Soft, Fluffy Rotis Every Time
Roti is the everyday bread that holds a meal together in many Indian homes. It’s cheap, quick, and when done right, unbelievably soft. If you’ve ever ended up with a tough, dry flatbread, this guide will fix that in just a few minutes.
Choosing the Right Flour
The flour you pick makes the biggest difference. Traditional atta is whole‑wheat flour milled fine enough to give rotis a tender bite. Some brands add a bit of soy or maize flour to improve softness – that’s fine as long as the protein content stays around 10‑12%. Avoid self‑rising flour; it adds unwanted leavening.
For a super‑soft roti, try a blend of 80% atta and 20% maida (all‑purpose flour). The little extra gluten from maida helps the dough stretch without tearing, giving you a puffier final product. If you’re watching carbs, stick to 100% whole‑wheat and add a teaspoon of oil or ghee to the dough.
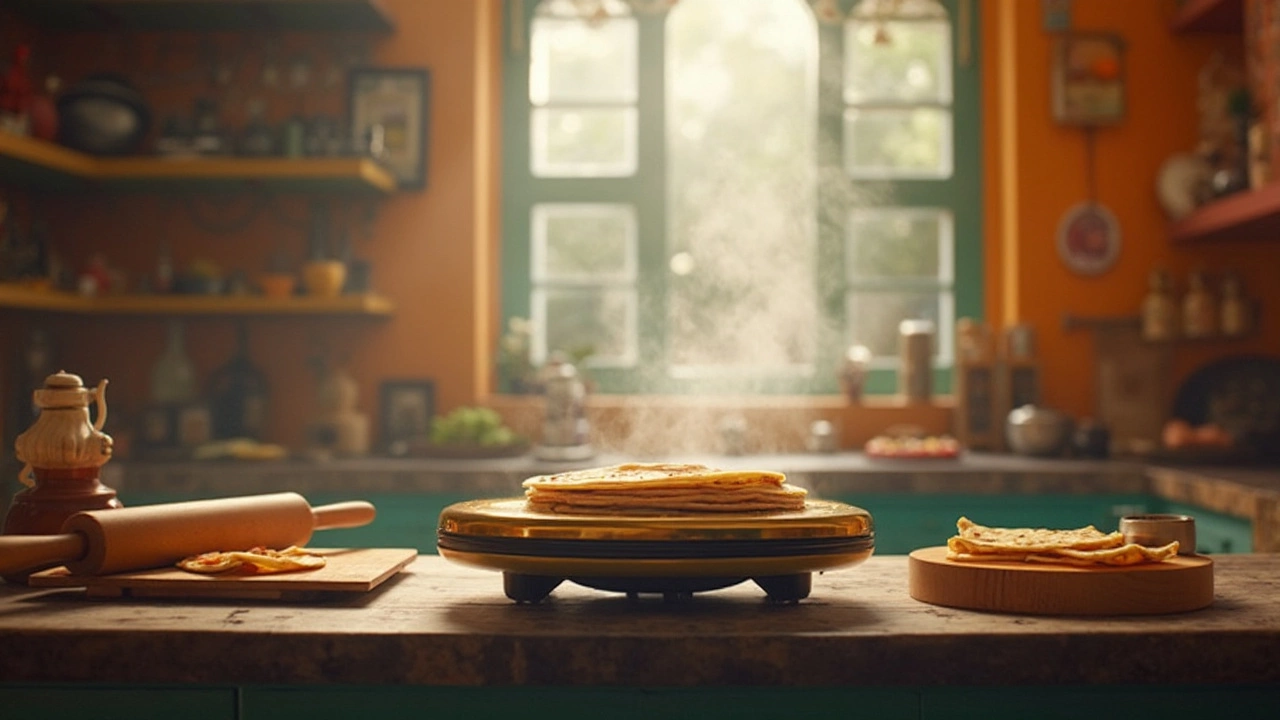
Step‑by‑Step Roti Technique
1. Measure and mix. Use one cup of flour for each person. Add a pinch of salt and a splash of oil (about a teaspoon). Slowly pour lukewarm water while stirring with your hand. The water should be warm enough to feel comfortable but not hot.
2. Knead. Bring the dough together and knead for 5‑7 minutes until it’s smooth and slightly elastic. If the dough feels sticky, sprinkle a little more flour; if it feels dry, add a few drops of water.
3. Rest. Cover the ball with a clean kitchen towel and let it sit for 15‑20 minutes. Resting relaxes the gluten and makes rolling easier.
4. Roll out. Pinch off a golf‑ball‑size piece, flatten it with your fingers, and dust lightly with flour. Using a rolling pin, roll into a 6‑inch circle, turning the dough a few times to keep it even. The goal is a thin, uniform disc; don’t over‑flour the surface.
5. Heat the tawa. Place a flat skillet (tawa) over medium‑high heat. When a few drops of water sizzle on contact, the surface is ready. Gently lift the roti and place it on the hot tawa.
6. Cook both sides. Wait 30‑40 seconds until you see tiny bubbles forming. Flip, cook the other side for another 30 seconds, then press gently with a cloth or spatula. The roti should puff up; if it doesn’t, increase the heat slightly next time.
7. Finish with steam. Once puffed, remove the roti and immediately brush with a dab of ghee or butter. This adds flavor and keeps it soft.
Tip: If the roti sticks, the tawa isn’t hot enough. If it burns quickly, lower the flame. A well‑seasoned cast‑iron tawa gives the best result.
Serve your warm rotis with dal, vegetable curry, or a simple dollop of yogurt. They stay soft for about an hour if you keep them in a covered container.
Now you have a reliable method for soft, fluffy rotis without any fancy equipment. Grab some flour, follow these steps, and your next meal will feel like home‑cooked comfort every single time.
Roti Maker Downsides: What You Need to Know
Roti makers promise convenience, but they come with their own set of challenges. From inconsistent heating to size limitations, these gadgets might not be the perfect fit for every kitchen. Learning about these drawbacks can help you decide if a roti maker is truly the right choice. Weighing these factors alongside the potential convenience can guide you to a better decision.