
25 Mar 2025
- 0 Comments
Ever wondered why some roti turn out soft while others feel like a workout for your jaw? You're not alone. The trick to getting velvety soft roti lies in mastering a couple of basic steps that, surprisingly, many cooks overlook.
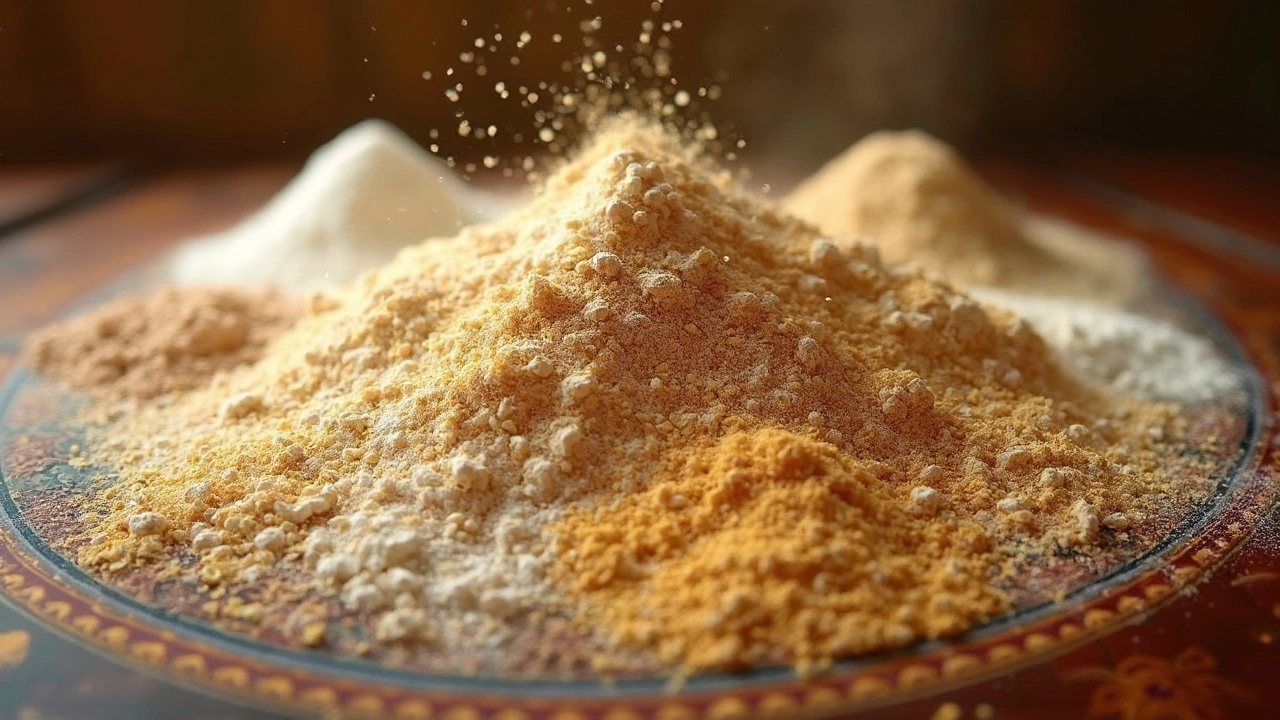
First off, let’s talk flour. Your choice here is crucial. Always go for 'atta,' commonly known as whole wheat flour. It's milled finer and made especially for roti, ensuring a softer outcome than your regular all-purpose flour.
Then, there’s the dough. Kneading isn't just about mixing; it’s about creating texture. Aim for a dough that’s smooth and just slightly sticky. Too dry? Add a splash of water. Too wet? Dust a little more flour. Finding that perfect balance is key.
- Choosing the Right Flour
- The Art of Kneading Dough
- Perfect Cooking Techniques
- Essential Storage Tips
Choosing the Right Flour
Diving straight into the first step, picking the right flour sets the groundwork for achieving that perfectly soft roti. You want to start with 'atta'. Wondering what's the big deal about it?
'Atta' is a special type of whole wheat flour widely used in Indian cooking. Unlike all-purpose flour, it's milled to be finer and finer means softer in the world of roti. The bran is finely ground, and that enhances both the taste and the texture—a double win.
Why Not Use All-Purpose Flour?
Sure, all-purpose flour is a versatile choice and works fine for many recipes, but it doesn't quite cut it here. It lacks the consistency and elasticity a good roti demands. Plus, 'atta' adds an authentic flavor that's hard to replicate.
Brand Matters
Take a stroll down your local grocery aisle, and you'll spot various brands of 'atta'. Not all are created equal, though. Some popular trusted brands like Aashirvaad, Pillsbury, and Sujata have built a reputation based on consistent quality.
- Aashirvaad: Known for its high-quality grains, users often swear by its reliability for soft roti.
- Pillsbury: Offers a slightly lower gluten content, which can be a plus for softer textures.
- Sujata: Often praised for its extra fine blend, making it ideal for beginners aiming for that perfect roti.
Switching to the right flour could be your golden ticket to the best roti you’ve ever made. Try experimenting with different brands to find your own personal favorite and really make your mark in the roti world.
The Art of Kneading Dough
Kneading dough isn't just a formality in the process of making soft roti; it's where the magic truly happens. Getting this right can transform your roti from decent to an almost pillowy perfection.
Start with a Good Mix
It all begins with the right mix. Combine your flour, a pinch of salt, and water. Start by adding water gradually. It's easier to add than to take out. A sticky dough is better than a dry one, so don't be shy with the moisture.
The Kneading Process
Now, onto the kneading. Here's a simple step-by-step:
- Mix and gather all ingredients in a bowl until they roughly come together.
- Transfer to a clean, slightly floured surface. Using the heel of your hand, press the dough forward. This action helps develop the gluten, which is essential for soft roti.
- Fold the dough in half, give it a quarter turn, and repeat. Expect to do this for about 8-10 minutes. You'll know it's done when the dough is soft, smooth, and bounces back when poked.
Rest is Essential
After kneading, give your dough a break. Cover it with a damp cloth for at least 20 minutes. This resting period lets the gluten relax, making it easier to roll out and contributing to a softer texture.
Adjust to Temperature
Environmental factors like humidity and temperature affect the dough consistency. In dry conditions, add a little extra water if needed. In places like Sydney's sometimes humid climate, less water might be necessary.
Kneading dough may sound straightforward, but getting it just right makes all the difference in achieving the perfect roti texture. So next time you’re in the kitchen, spend a little extra time with this step, and you'll notice the results.
Perfect Cooking Techniques
Nailing the right cooking technique is what truly turns a humble dough ball into a deliciously soft roti. It's not just about tossing it on a pan and hoping for the best. Let's break down the steps to ensure your roti turns out just right.
Setting the Temperature
Your pan, or 'tawa', should be hot, but not smoking. Test it with a drop of water first; if it sizzles and evaporates quickly, you're ready to go. Too low a heat can make your roti dry and rubbery, exactly what we're trying to avoid.
Flipping at the Right Time
Place the rolled dough on the pan and wait for about 10-15 seconds. You'll see small bubbles forming— that’s your cue. Flip it over and let it cook on the other side for a similar timeframe. Remember, keeping it too long can make it crispy, which isn’t what we want for our soft roti.
Pressing for the Puff
Now here's the fun part—using a clean cloth or spatula, gently press down on the edges after flipping the second time. This helps the steam do its magic, puffing up the roti and making it light and airy. A perfectly puffed roti usually means a soft one.
- Ensure even heat distribution by using a thick-bottomed pan.
- Avoid pressing down with too much force, as it can release heat too quickly and result in a tough texture.
- Transfer it to a covered container immediately to retain moisture once done.
Slight modifications to your cooking routine can have a significant impact on the texture of your roti. Get these techniques right, and you’re halfway to serving perfect soft roti every time.
Essential Storage Tips
Nailing the art of making soft roti isn't just about the cooking process. How you store them can make a world of difference. Here are some essential tips to keep your roti soft and fresh.
Immediate Storage
Once your roti is off the griddle, it's crucial to think about how you'll store it. Immediately placing it in an insulated container or a roti warmer helps maintain moisture. This way, your roti doesn't dry out as they cool.
Using a Cloth
Wrap your freshly made roti in a clean, dry cloth or kitchen towel before placing them in the container. The cloth absorbs excess steam while preventing the roti from losing its softness. A quick tip? Go for cotton cloth as it's breathable and perfect for keeping roti in good shape.
Long-term Storage
- Freezing: Yes, you can freeze roti! Let them cool completely, then place layers of parchment or wax paper between each roti. Seal them in an airtight ziplock bag. When you're ready to eat, reheat them directly from the freezer on a hot griddle.
- Refrigerating: If you plan to eat them within a day or two, the fridge is your friend. Just pop them in an airtight container lined with a paper towel. Warm them up on the stove or microwave before serving.
Common Mistakes
Avoid stacking hot roti without a barrier between them. They might stick together and lose that desirable pliability. And please, no plastic wrap while they're still warm – it creates condensation, making your roti soggy.
These tips should help keep your roti soft and delightful, saving you from chewy disappointments. Happy eating!