
1 Dec 2025
- 0 Comments
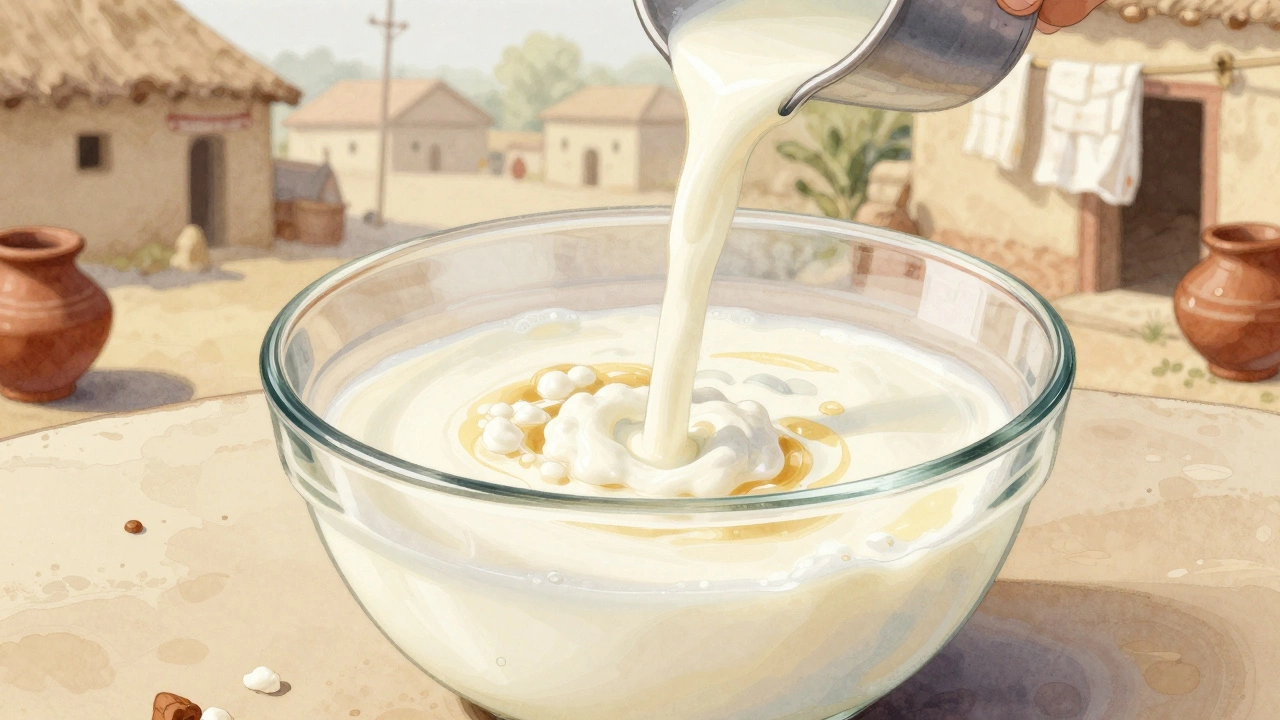
Paneer Making Calculator
Want to make fresh paneer at home but don’t have lemon or vinegar on hand? You’re not alone. Many people assume citric acid is the only way to curdle milk for paneer, but that’s not true. In fact, traditional Indian kitchens have used other methods for generations-methods that give you softer, creamier paneer with a cleaner taste. You don’t need souring agents to get that firm, sliceable cheese. All you need is milk, heat, and one of these simple alternatives.
Why Skip Lemon and Vinegar?
Lemon juice and vinegar work fast, but they leave behind a tangy aftertaste. That’s fine for some dishes, but when you’re making paneer for butter paneer, paneer tikka, or even just eating it with sugar and cardamom, that sharpness can ruin the delicate dairy flavor. Plus, if you’re using low-fat milk or plant-based milk, citric acid can make the curds too brittle or grainy.
Traditional recipes from Uttar Pradesh, Rajasthan, and Bengal often used yogurt, buttermilk, or even naturally soured milk. These methods are slower but gentler. They let the milk’s natural enzymes and lactic acid do the work-resulting in paneer that’s smoother, more tender, and closer to what you’d find in a village dairy.
Method 1: Use Yogurt (The Most Reliable Alternative)
This is the most common substitute used in Indian households. You need plain, unsweetened yogurt-preferably full-fat and not store-bought with stabilizers.
- Heat 1 liter of whole milk in a heavy-bottomed pan over medium heat. Stir occasionally to prevent scorching. Bring it to a gentle boil-don’t let it boil over.
- Once the milk reaches a rolling boil, turn off the heat. Let it sit for 2 minutes to cool slightly.
- Take 2 tablespoons of plain yogurt and mix it with 2 tablespoons of warm water to thin it out. This helps it blend evenly.
- Slowly pour the yogurt mixture into the hot milk while stirring gently. Don’t stir vigorously-just a few swirls to distribute it.
- Cover the pot and let it sit undisturbed for 10 to 15 minutes. You’ll see the milk separate into solid white curds and yellowish whey.
- Line a colander with cheesecloth and pour the mixture into it. Let it drain for 20 minutes, then gather the edges of the cloth and tie them together. Hang the bundle over a bowl or sink for another 30 minutes to press out excess liquid.
- Place a heavy object (like a cast iron skillet or a few cans) on top of the wrapped paneer for 1 hour. This gives you a firm, block-shaped cheese.
Yogurt-based paneer is softer than lemon-made paneer and holds its shape beautifully when grilled or fried. It’s also less likely to become rubbery when cooked.
Method 2: Use Buttermilk (The Forgotten Secret)
If you’ve ever made lassi or drunk buttermilk, you’ve already got the tool you need. Buttermilk is naturally acidic and full of live cultures-perfect for curdling milk without adding sharp flavors.
- Heat 1 liter of whole milk until it simmers. Remove from heat and let cool for 3 minutes.
- Add 1/4 cup of fresh, unflavored buttermilk. Stir gently once or twice.
- Cover and leave it for 15 to 20 minutes. The curds will form slowly, but they’ll be more uniform and creamy.
- Proceed with draining and pressing the same way as the yogurt method.
Buttermilk gives paneer a slightly sweet, milky flavor that works wonders in desserts like paneer kheer or as a snack with honey. It’s also great if you’re making paneer for kids-no tang, no bite, just pure dairy goodness.
Method 3: Use Naturally Sour Milk (The Traditional Way)
This is how paneer was made before refrigeration. In rural India, milk was left out overnight to sour naturally. The lactic acid bacteria in the air and on the container slowly acidified the milk, causing it to curdle on its own.
- Leave 1 liter of whole milk at room temperature (around 22°C) for 12 to 24 hours. You’ll know it’s ready when it thickens slightly and smells pleasantly sour-like yogurt, not rotten.
- Heat the soured milk gently until it starts to separate. You’ll see curds floating in clear whey.
- Drain and press as usual.
This method takes longer, but the flavor is unmatched. The paneer has a subtle fermented depth that’s perfect for slow-cooked gravies. It’s also the most cost-effective-no extra ingredients needed.
What About Plant-Based Milk?
If you’re using almond, soy, or oat milk, none of the above methods will work. Plant milks lack casein, the protein that forms paneer curds. But you can still make a vegan “paneer” using:
- Coconut milk (full-fat, canned) + agar-agar
- Soy milk + calcium sulfate (nigari)
- Cashew cream blended with nutritional yeast and pressed
These aren’t true paneer, but they’re great for vegan curries. For authentic paneer, stick to dairy milk.
Common Mistakes to Avoid
Even with the right method, paneer can turn out wrong. Here’s what usually goes wrong-and how to fix it:
- Curds won’t form: Your milk might be ultra-pasteurized. Look for milk labeled “pasteurized,” not “ultra-pasteurized.” Ultra-pasteurization kills the proteins needed to curdle.
- Paneer is too crumbly: You pressed it too hard or too soon. Let the curds drain longer before pressing. Gentle pressure = tender paneer.
- Paneer tastes bland: Salt it after pressing. Add 1/2 teaspoon of salt to the curds before pressing for better flavor.
- It falls apart when fried: You didn’t press it long enough. A good paneer block should hold together when dropped from waist height.

How to Store Homemade Paneer
Store paneer in the fridge submerged in cold water. Change the water daily. It stays fresh for up to 5 days. For longer storage, freeze it in a sealed container. Thaw in the fridge overnight before using. Frozen paneer works fine in curries but won’t be as firm for grilling.
What to Do With Your Paneer
Now that you’ve got your paneer, here are a few simple ideas:
- Marinate cubes in yogurt, ginger-garlic paste, and garam masala, then grill on skewers.
- Cube it and toss into palak paneer or paneer butter masala.
- Drizzle with honey and sprinkle with crushed pistachios for a quick dessert.
- Use in sandwiches with mint chutney and tomato slices.
Homemade paneer tastes better than store-bought. It’s fresher, cheaper, and you control the texture. Once you try it made with yogurt or buttermilk, you’ll never go back to lemon.
Can I use sour cream instead of yogurt to curdle milk?
Sour cream can work in a pinch, but it’s thicker and has more fat. Use only 1 tablespoon per liter of milk, and mix it with a little water to thin it out. The result will be richer but less firm than yogurt-based paneer.
Why does my paneer turn rubbery?
Rubbery paneer happens when you boil the milk too hard, add the souring agent too early, or press it too tightly. Always heat milk gently, wait until it’s off the heat before adding curdling agents, and press with moderate weight for no more than 1 hour.
Can I use powdered milk to make paneer?
Powdered milk doesn’t work well. The proteins are altered during drying and won’t coagulate properly. Stick to fresh, liquid whole milk for best results.
Is homemade paneer healthier than store-bought?
Yes. Store-bought paneer often contains additives like carrageenan or preservatives to extend shelf life. Homemade paneer is just milk and a natural acidifier-no chemicals, no fillers. It’s also higher in protein and calcium since you control the milk quality.
Can I use lemon juice if I don’t have yogurt or buttermilk?
Yes, but use only 1 teaspoon of fresh lemon juice per liter of milk, added after the milk is off the heat. Too much lemon makes paneer bitter and grainy. It’s a fallback, not a preferred method.
Final Tip: Test Your Milk First
Before you start, test your milk. Heat a small cup of it with a drop of vinegar. If it curdles quickly and cleanly, it’s good for paneer. If it just gets lumpy or doesn’t separate, it’s ultra-pasteurized and won’t work. Always choose milk labeled “pasteurized,” not “ultra-pasteurized” or “UHT.”
Making paneer without lemon or vinegar isn’t just a workaround-it’s a better way. It gives you more control, better flavor, and connects you to a tradition that’s been passed down for centuries. Try the yogurt method first. It’s the easiest, most reliable, and most delicious.