Make Paneer at Home: Quick and Easy Fresh Cheese
Ever wondered why store‑bought paneer can be pricey or a bit rubbery? The truth is you can whip up soft, milky paneer in your kitchen in under an hour. All you need is milk, an acid, and a clean cloth. Ready to give it a try?
What You’ll Need
Grab these items before you start. They’re cheap and easy to find.
Milk: Whole milk gives the best texture. You can use 1 litre for a small batch.
Acid: Fresh lemon juice works best, but white vinegar or even yogurt can do the trick. You’ll need about 2‑3 tablespoons.
Cheesecloth or thin cotton towel: This helps strain the curd without tearing.
Large pot and a slotted spoon: A heavy‑bottomed pot prevents scorching.
Optional: a pinch of salt for flavor, and a bit of crushed fenugreek for a traditional touch.
Step‑by‑Step Process
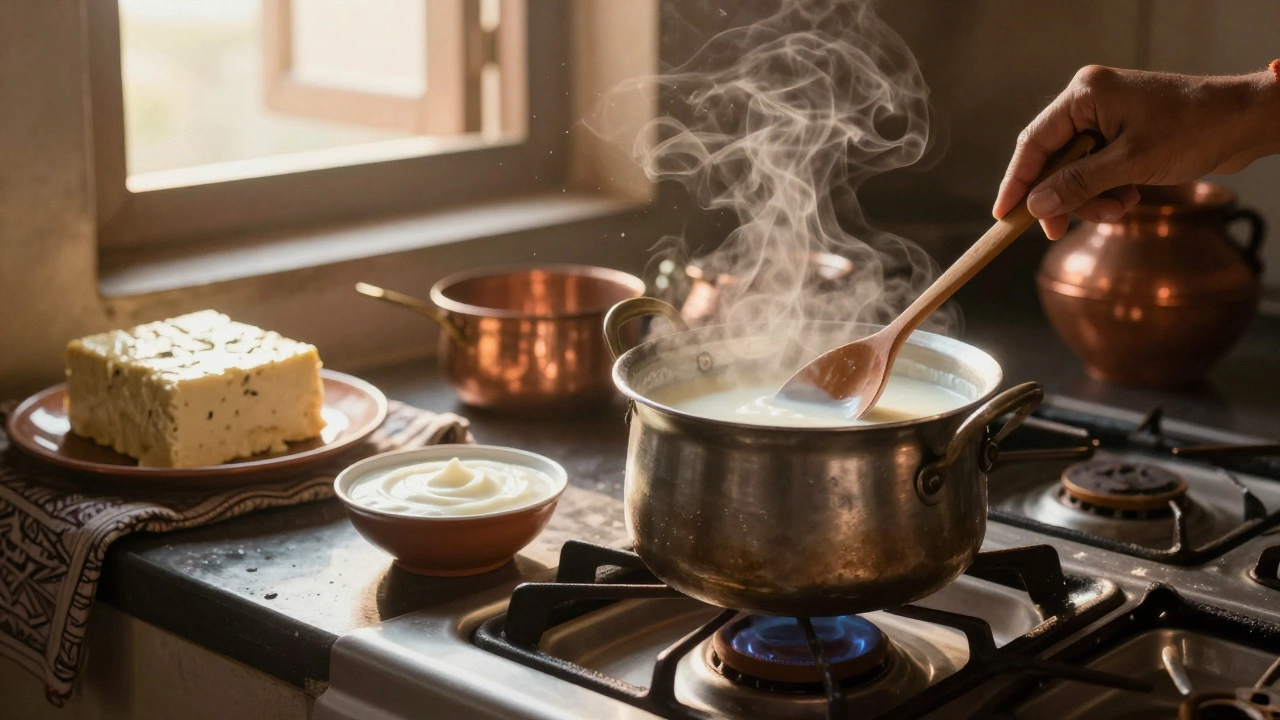
1. Heat the milk. Pour the milk into the pot and set the burner to medium. Stir occasionally and watch for tiny bubbles forming around the edges. When it reaches a gentle boil (around 90 °C), turn off the heat.
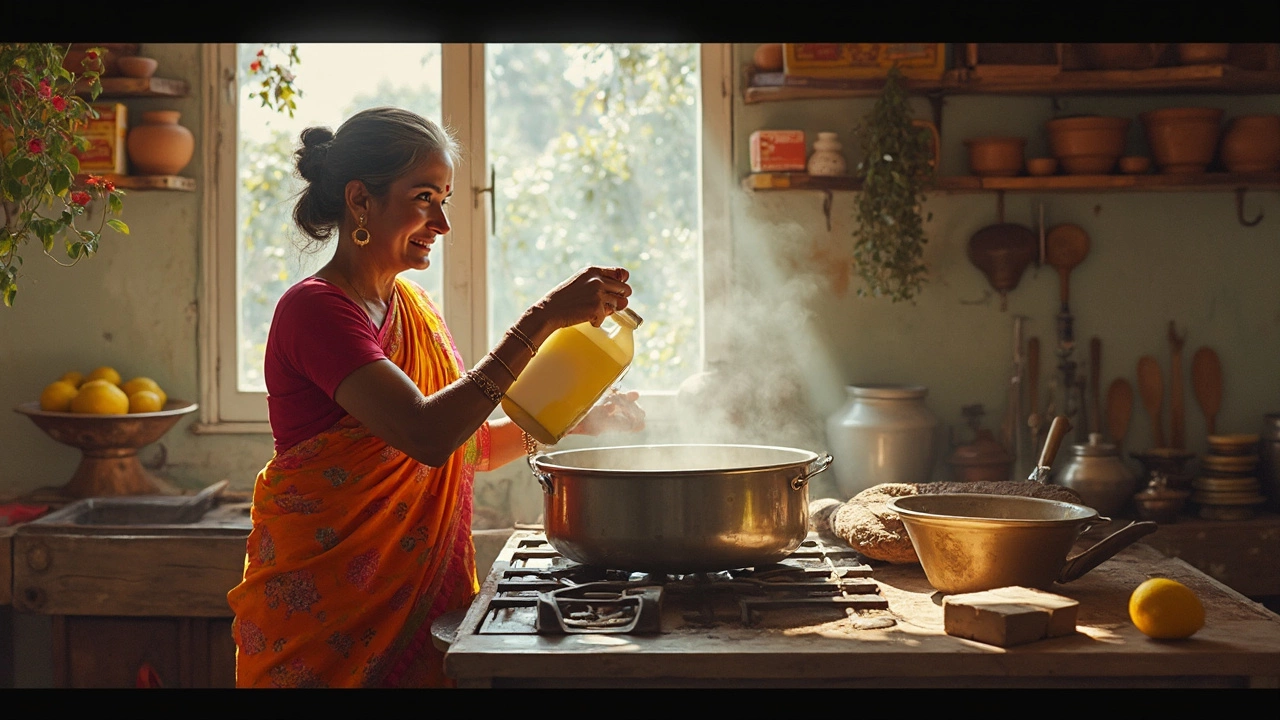
2. Add the acid. Slowly pour the lemon juice while stirring gently. Within a minute you’ll see the milk separate into curds (white clumps) and whey (clear liquid). If it doesn’t split fully, add a little more acid.
3. Let it rest. Allow the curd‑whey mixture to sit for 5 minutes. This helps the curds firm up a bit.
4. Strain the curds. Line a colander with cheesecloth, place it over a bowl, and pour the mixture through. Gather the corners of the cloth and twist to squeeze out excess whey. For firmer paneer, press the wrapped curd with a heavy plate for 10‑15 minutes.
5. Shape and store. Unwrap the pressed block, cut it into cubes, and use immediately or refrigerate in water for up to 3 days. If you like a softer texture, skip the heavy press and use the paneer right away.
That’s it – fresh paneer ready for curries, grilled skewers, or a simple salad topping.
Tips & Tricks
- Use full‑fat milk; low‑fat versions give dry curds.
- Don’t over‑boil – milk that scorches will affect flavor.
- For a richer paneer, add a pinch of salt to the milk before heating.
- If you plan to fry the paneer, let it dry on the cloth for a few minutes after pressing.
Making paneer at home saves money and lets you control texture and taste. Next time a recipe calls for paneer, you’ll have a fresh batch ready in no time. Give it a go and enjoy the creamy difference!
How to Curdle Milk Without Lemon and Vinegar for Homemade Paneer
Learn how to make fresh paneer at home without lemon or vinegar using yogurt, buttermilk, or naturally soured milk. Discover the best alternatives, common mistakes, and how to store your homemade cheese.
How Much Paneer from 1 Gallon of Milk? A Real Kitchen Yield Guide
Ever wondered how much paneer you can actually get from a gallon of milk? This article breaks down the numbers and steps, so you’ll never over- or underestimate your homemade paneer yields again. Learn about the key factors that affect how much paneer you get, plus some pro tips to make your batch awesome. Find out how to make, store, and use that fresh paneer for the tastiest results. Real examples and kitchen-tested facts help you get the most out of every batch.