Roti Maker Essentials: Tools, Flour & Tips for Perfect Rotis
If you love fresh, soft rotis but hate the uneven results, a good roti maker can change the game. Whether you’re using a traditional rolling pin, an electric roti press, or just a hot tawa, the basics stay the same: the right tool, the right flour, and a few easy habits.
Below you’ll find practical advice you can put into action right away. No fancy jargon, just clear steps you can try tonight.
Pick the Right Roti Maker for Your Kitchen
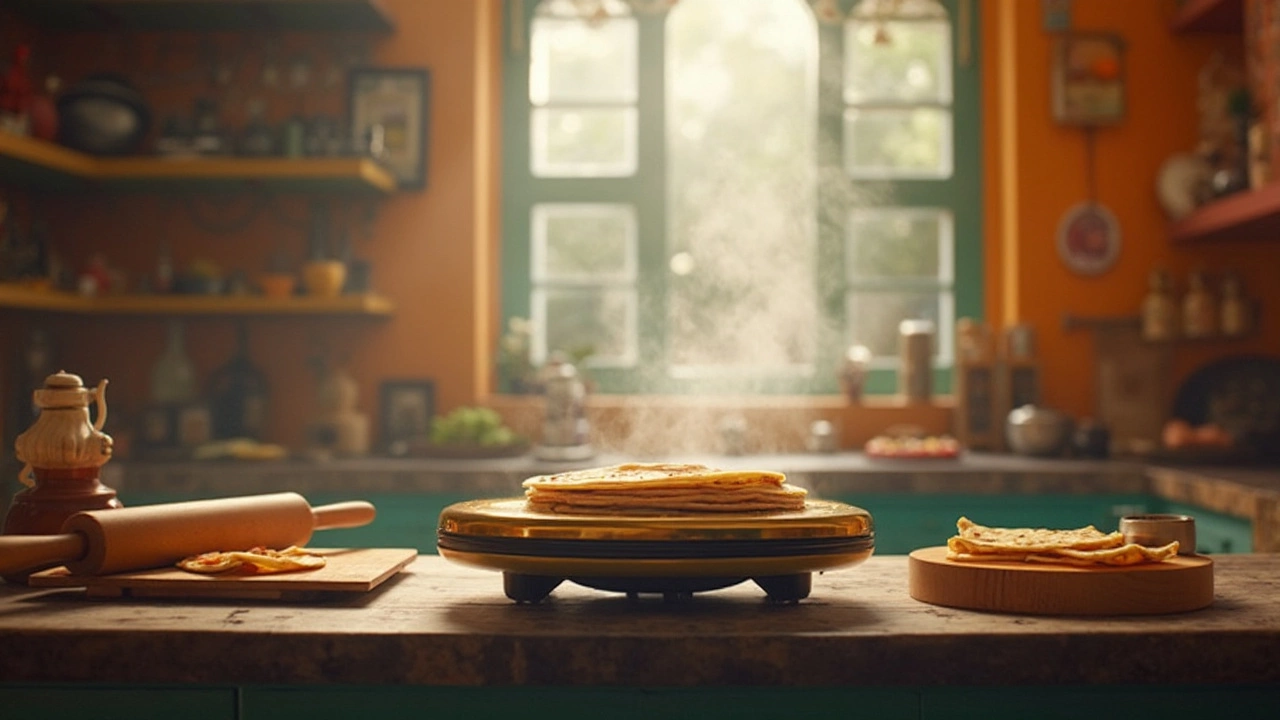
There are three common options. The classic wooden rolling pin gives you full control, but it needs practice to keep the circles even. An electric roti maker (sometimes called a roti press) does the rolling for you; you place dough in the chamber, press a button, and out comes a round disc in seconds. Finally, the simple tawa (flat griddle) works as both a cooking surface and a makeshift rolling board when you press the dough with your hands.
When choosing, think about space and frequency. If you make rotis daily, an electric press saves time and limits the mess. If you only cook them on weekends, a sturdy rolling pin and a good tawa are enough. Look for a press with non‑stick plates and adjustable thickness – it helps you avoid thin, brittle breads.
Cleaning matters too. Stainless‑steel plates rinse quickly, while non‑stick surfaces need gentle sponges to keep the coating intact. A well‑maintained maker will give you consistent results for years.
Best Flour for Soft and Tasty Rotis
The flour you use is half the battle. Traditional Indian atta is a whole‑wheat flour with moderate protein (around 10‑12%). It gives rotis a pleasant chew and a nutty flavor. If you want extra softness, blend atta with a small amount of all‑purpose flour; the lower protein content makes the dough more pliable.
Check the grain size, too. Fine‑ground flour rolls out smoother and creates fewer cracks. Some brands market “soft roti flour” that’s milled finer and sometimes enriched with a touch of malted barley, which adds a subtle sweetness.
Here’s a quick test: grab a handful of flour, rub it between your fingers. If it feels powdery but not gritty, you’re likely dealing with a fine grind. When you mix the dough, it should form a smooth ball that’s slightly tacky, not sticky.
Timing the dough matters. After mixing, let it rest for at least 20 minutes. Resting relaxes the gluten, making the dough easier to roll and the rotis softer after cooking. If you’re in a hurry, a 5‑minute rest still helps, but aim for the longer window when you can.
When you roll, keep the thickness around 2 mm. Too thin makes the roti crack, too thick leaves it doughy. Use gentle, even pressure – the electric press does this automatically, while the rolling pin method benefits from rotating the dough a few times as you roll.
Cook on a pre‑heated tawa over medium‑high heat. You’ll hear a sizzle within seconds; that’s the sign the roti will puff up nicely. Flip once, then press gently with a cloth or spatula to encourage the puff. A puffed roti means the steam inside has built up, giving you that classic soft, airy texture.
Finally, store cooked rotis in a clean kitchen towel. The steam keeps them from drying out, and they stay warm for a while. If you need to keep them longer, a quick reheating on the tawa restores the softness.
With the right roti maker, the proper flour blend, and these simple steps, you’ll be serving soft, fluffy rotis that rival any street‑side stall. Give these tips a try, tweak a bit to suit your taste, and enjoy the homemade goodness every meal.
Roti Maker Downsides: What You Need to Know
Roti makers promise convenience, but they come with their own set of challenges. From inconsistent heating to size limitations, these gadgets might not be the perfect fit for every kitchen. Learning about these drawbacks can help you decide if a roti maker is truly the right choice. Weighing these factors alongside the potential convenience can guide you to a better decision.