2 May 2025
- 0 Comments
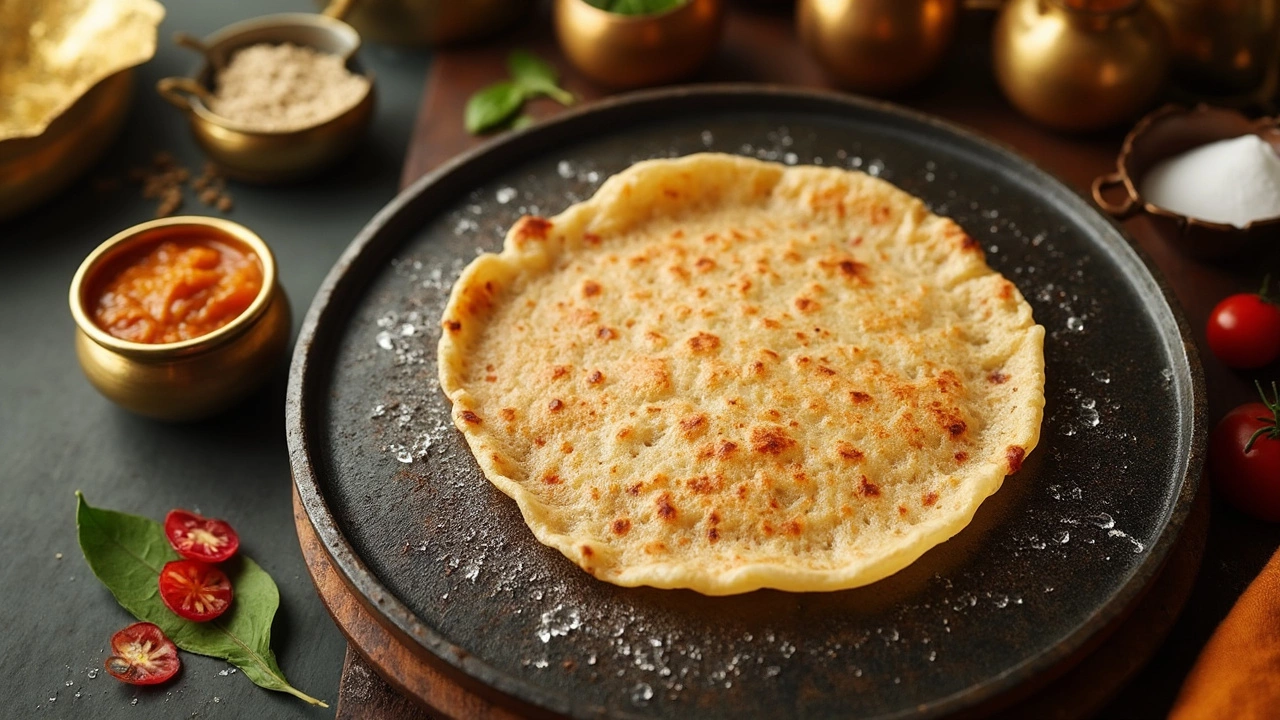
Ever noticed restaurant-style dosas turn out pillowy, while homemade ones sometimes stick to the pan or turn out flat? The secret might be a pinch of baking soda hiding in the batter. This isn’t just some trendy hack—baking soda has a real job when your batter needs a boost.
Dosa batter usually needs hours (or even overnight) to ferment, catch air bubbles, and turn nice and tangy. That process makes your dosas light and gives them tiny holes on the surface. But what if your kitchen is too cold? Or you just didn’t have time to let the batter sit long enough? That’s when people reach for baking soda. It steps in to speed things up and helps dosas fluff up, even if the batter could use a little more time.
- The Usual Way: Traditional Dosa Fermentation
- What Baking Soda Actually Does
- The Science: How It Makes Dosas Soft
- Downsides of Excess Baking Soda
- When Should You Add It?
- Better Tips for Perfect Dosas Every Time
The Usual Way: Traditional Dosa Fermentation
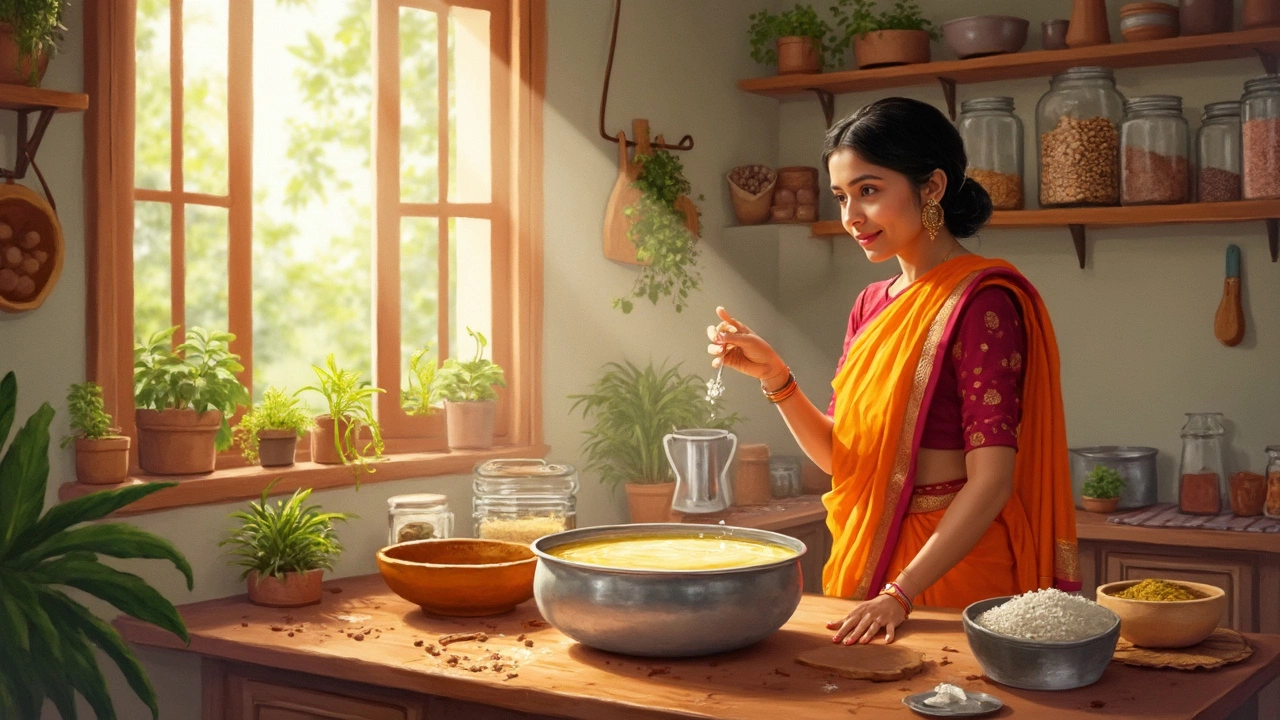
Most folks making dosas at home stick to the old-school method: soaking, grinding, and fermenting. This tradition isn’t some fancy trick—it’s pure science doing the work. You soak rice and urad dal (split black gram) for about 4–6 hours. Then you grind them together with water to get a slightly gritty batter. Here’s where patience comes in: cover the batter and let it sit. Usually, 8 to 12 hours in a warm spot does the job.
During this wait, good bacteria take over and start munching on the starches in the batter. As they work, they release carbon dioxide, which makes those tiny bubbles. That’s what helps your dosas rise and get that lovely porous look when they cook.
The tangy flavor you taste? That’s natural fermentation. It gives the dosa its signature taste, soft inside, and crispy outside. In most parts of India, people rely just on this classic process. No baking soda needed—just patience, the right warmth, and covering your bowl to trap those bubbles inside.
- The ideal room temperature for fermenting is between 25°C and 32°C (about 77°F to 90°F). Cooler kitchens slow it down; hotter ones can make it sour too fast.
- In cold regions, folks often pop the batter in an oven with the light on—or near a warm appliance—to get things moving.
- You’ll know the batter’s ready when it’s doubled in volume and has that slightly tangy smell.
If you want to nail that perfect home-style dosa batter, this traditional way is worth learning, even if it tests your patience a bit. Trust the process: proper fermentation is the backbone of a great dosa recipe.
What Baking Soda Actually Does
Baking soda isn’t just a kitchen staple for cakes or cleaning, it’s a handy shortcut in dosa batter too. When you add baking soda, you’re not just going for taste—there’s a real science here. Baking soda, or sodium bicarbonate, reacts with the acids in fermented batter. This little fizz creates carbon dioxide bubbles right inside the batter.
Those bubbles get trapped, and they puff up the batter. The result? Fluffy dosa pancakes that cook up with soft centers and crisp edges. It’s the same effect you see in American pancakes or idlis when you use baking soda to get that airy, light bite.
- Speeds up the fermentation-like process if you’re short on time.
- Helps dosa batter rise, especially in cooler kitchens or on rainy days.
- Makes your dosas look and feel a lot softer, which kids usually love.
If you ever notice the batter is not spreading or bubbling even after hours of resting, a little baking soda can work wonders. But don’t mix it in too early—wait until just before you cook, or you’ll lose all that fizz before it hits the pan.
Here’s a quick comparison of batter results:
| Without Baking Soda | With Baking Soda |
|---|---|
| Can turn out flat if not fully fermented | Rises faster even with minimal fermentation |
| Needs long fermentation for softness | Gets soft and airy with a short rest |
| Sometimes dense or sticky | Lighter, fluffier texture |
So, next time your dosa batter feels lazy, just remember—baking soda is basically your backup plan for foolproof dosas, no matter the season.
The Science: How It Makes Dosas Soft
So, what's really going on in your dosa batter when you toss in a bit of baking soda? It's all about bubbles—tiny pockets of gas that make your dosas softer and airier. Baking soda, or sodium bicarbonate, is a leavening agent. When it meets something slightly acidic (think fermented batter), it reacts and produces carbon dioxide. These bubbles get trapped in the thick batter, making it lighter and causing those signature holes on the surface when you cook your dosas.
Without enough fermentation, the batter won’t naturally create enough bubbles. That’s where baking soda jumps in, like a shortcut for busy days or chilly kitchens. The science is pretty simple: it kickstarts gas production, saving your dosa dreams even if your yeast and friendly bacteria are a little sluggish.
Here's what actually happens step-by-step:
- You add baking soda to the fermented dosa batter.
- Baking soda reacts with the natural acids in the batter.
- This releases carbon dioxide gas bubbles.
- The batter turns lighter, and when poured onto the pan, you get airy, fluffier, and softer dosa.
| Ingredient | Main Role in Batter |
|---|---|
| Rice & Dals | Structure, nutrition, mild acidity |
| Fermentation | Leavens naturally, subtle tang |
| Baking Soda | Extra leavening, faster gas bubbles |
Another cool fact: too much baking soda, and your dosa can get a soapy taste or weird brown spots. Just a pinch (around one-fourth teaspoon for four cups of batter) is usually enough to do the trick.

Downsides of Excess Baking Soda
Adding too much baking soda to your dosa batter can backfire fast. You might expect extra fluff, but what you actually get is a weird taste and a strange texture. There’s a line between softer dosas and flat-out disaster.
Here’s what goes wrong:
- Soapy, bitter taste: Go overboard, and your dosas come out with a bitter or metallic aftertaste. Not fun when you’re craving that classic tangy crispiness.
- Weird color: Too much baking soda can make dosas turn yellowish or brown too fast—even before they’re fully cooked inside. They might also get a dry, papery top rather than that signature light bite.
- Breaks up the batter: When soda goes beyond just helping, it starts to break down the mix. The batter can lose structure and get runny, which means dosas that tear or don’t cook evenly.
- Health matters: Some folks are sensitive to excess soda, and it can irritate your stomach, especially for kids or anyone with tummy troubles.
Small is key here. You need just a pinch—usually about 1/8 teaspoon per cup of batter, no more. Just to compare, check out this quick breakdown of what happens with and without soda overload:
| Amount of Baking Soda | Texture | Taste | Color |
|---|---|---|---|
| None | Maybe dense if not fermented well | Classic, tangy | Golden, even |
| Just a pinch | Light, fluffy | Slightly tangy | Golden, crisp |
| Too much | Dry, papery | Bitter, soapy | Yellowish, uneven |
So next time you reach for that box of baking soda, remember it’s a supporting actor, not the star. Stick to a tiny amount and let fermentation do most of the magic for the best dosa recipe.
When Should You Add It?
So, the big question: when exactly is the right time to toss in some baking soda to your dosa batter? You don’t always need it, but it can be a real lifesaver when fermentation hasn’t gone as planned. Here’s how to decide:
- If you live somewhere cold or your kitchen doesn’t get warm, your dosa batter may not ferment enough. Add a pinch of baking soda just before making dosas. It’ll boost puffiness almost instantly.
- Woke up to a dull, not-so-fluffy batter because you rushed the soaking or fermentation time? One-fourth teaspoon of baking soda (for every three cups of batter) can help bring some life back and give you those soft, airy dosas.
- Trying a quick dosa recipe with only a few hours to ferment? A touch of baking soda right before cooking can give results close to slow-fermented batter.
But timing matters! Never add baking soda before the fermentation step. If you do, the gas created will escape, leaving nothing for your hot pan. Instead, stir it in only when you’re ready to cook. Give the batter a gentle mix, wait 10 minutes to let it act, then fire up your skillet.
And remember, you don’t need baking soda if your fermentation process worked its magic. Freshly fermented batter rises nicely on its own and often delivers the best flavor and texture.
| When Not to Add | When to Add |
|---|---|
| Well-risen, tangy, airy batter | Cold weather, under-fermented, rushed prep |
| Too much bubble in batter | Batter feels dense and flat |
| Using instant dosa mixes with leaveners | Making dosas on same day with little rise |
Stick to these tips, and your dosas stay soft and delicious every time, no guesswork needed.
Better Tips for Perfect Dosas Every Time
Getting restaurant-worthy dosa batter at home isn’t just luck. It’s about using a few tried-and-tested tricks. Want those crispy edges with the fluffy center? Here’s what actually works, even if you’re new to making dosas.
- Fermentation is everything: Let your batter rest in a warm spot. Aim for at least 8–12 hours. If your kitchen’s cold, stick the bowl in your oven with the light on. That tiny bit of warmth speeds things up without cooking the batter.
- Add baking soda only if necessary: If you sneak in a pinch, do it right before you make dosas—never during grinding. Add about 1/8 teaspoon for every 2 cups of batter. This helps if your fermentation didn’t go as planned or you’re in a rush.
- Right water level matters: Too watery and dosas stick; too dry and they’re tough. After fermentation, the batter should be pourable but still thick—think pancake batter consistency.
- Don’t overthink rice and dal ratios: The classic 3:1 rice to urad dal works everywhere. If you want even crispier dosas, add a handful of poha (flattened rice) or a spoon of cooked rice during grinding. It makes a big difference with almost zero effort.
- Stir gently before pouring: Don’t whisk like crazy. Soft folds just to mix it up before you start. That keeps the air bubbles in, which is what you want for soft fluffy dosas.
- Hot pan is a must: Splash a tiny bit of water on the tawa or pan—if it sizzles and disappears in seconds, you’re good to go. Wipe the pan with a slice of onion dipped in oil to prevent sticking. It works like magic.
| Addition | Main Benefit | Drawback |
|---|---|---|
| Baking Soda | Instant fluffiness | Can turn dosas yellowish if overused |
| Poha/Cooked Rice | Crispier, softer dosas | None if used in small amounts |
| Too Much Water | Thinner dosas | Sticking, hard to spread |
If you nail these steps, honestly, you won’t even need to rely on baking soda every time. Practice makes perfect, and even if the first few dosas don’t turn out textbook-perfect, it’s the tweaks above that help most home cooks reach dosa nirvana.
