
27 Feb 2025
- 0 Comments
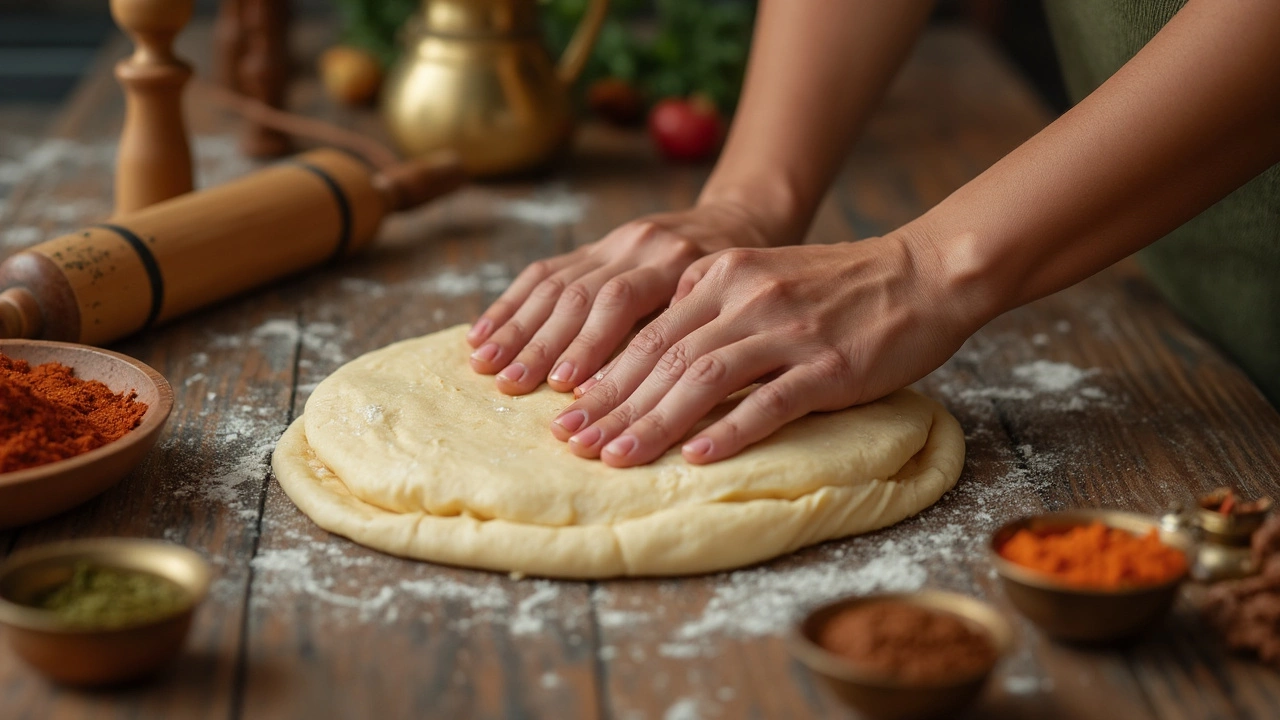
Ever wondered how to get that perfect soft dough for your rotis? It's not just about mixing flour and water. There's an art to it, but don't worry—it's not complicated once you know a few tricks.
The first step? Flour selection. Wheat flour is a classic choice, but its type can make or break your dough. Opt for whole wheat atta, as it's finely milled and offers the right texture. Brands might vary, so find one that feels smooth to the touch without being gritty. Trust me, it makes a world of difference.
Next up is water. Yes, plain old H2O plays a huge role in dough softness. Use warm water; it helps the flour absorb better, leading to a softer dough. The consistency depends on your taste, but generally, the dough should feel like a soft ball—firm enough to hold shape yet pliable.
- Choosing the Right Flour
- The Role of Water
- Kneading Techniques
- Rest Time Matters
- Cooking Tips for Soft Roti
Choosing the Right Flour
Flour is more than just a base ingredient; it's the heart of any good roti. The right type can be the difference between a tough flatbread and a soft, melt-in-your-mouth delight. So, what's the secret?
First, let's talk about whole wheat atta. Unlike all-purpose flour, atta is finely ground and has a high fiber content, which is essential for soft dough. Its texture is smoother and it's specially crafted for flatbreads like roti. Make sure your atta is fresh, as stale flour loses moisture and elasticity.
The Protein Factor
Another critical factor is protein content. Higher protein means more gluten formation, which can give you that chewy texture. But don’t go too high—or you'll end up with a stiff dough! Aim for flour with around 10-12% protein for a balanced texture.
Brands and Variations
Not all whole wheat flours are created equal. Different brands offer slight variations in grind and taste. If you’re experimenting with new ones, try smaller batches until you find your favorite. Some popular brands known for good rotis include Ashirwad and Gold Medal.
If you’re feeling adventurous, mix in a bit of all-purpose flour or add a tablespoon of vital wheat gluten for extra elasticity. Just remember, moderation is key to keep your dough soft.
Storage Matters
Believe it or not, how you store your flour affects its quality. Keep it in an airtight container, away from moisture and sunlight, to maintain freshness. Storing in the fridge can extend its shelf life and preserve nutritional value.
Perfecting that soft dough starts with the right ingredients. Choose your flour wisely, and you’ll be on your way to making perfect roti every time!
The Role of Water
You've got your flour sorted, but the next piece of the puzzle is just as crucial—water. Believe it or not, water is the magic ingredient that often gets overlooked. Understanding how it works can help you make perfect, soft dough every time.
Water Temperature
It might seem trivial, but water temperature can change everything. Always use warm water when aiming for soft dough; it allows for better absorption and achieves a moist, elastic texture. Cold water can make the dough tough and difficult to work with.
How Much Water?
The amount of water you use is key. For two cups of atta, start with about 3/4 cup of water. Add it gradually, mixing as you go. The goal is a soft ball that's not too sticky. Too much water, and you've got a mess. Too little, and it's like kneading rocks.
Gradual Mixing
When mixing water with your flour, go slowly. Pour a bit of water, then mix. Doing this in stages ensures every grain of flour gets a chance to soak in some moisture. You'll find that the dough comes together smoother and more consistently.
Why Hydration Matters
Hydration is the ultimate secret to achieving perfectly soft dough. Properly hydrated flour means a dough that stretches easily. This flexibility makes for rotis that are soft and puff up beautifully when cooked.
A little experiment: Make two batches of dough using different water levels. Notice how the dough's feel and elasticity can change almost magically with just a splash more or less. It's a neat trick to becoming a roti-making pro!
Kneading Techniques
So, you've got your flour and water sorted. What's next? You've got to get that kneading just right. Think of kneading like a workout for your dough—it strengthens its gluten network, which is key to achieving soft dough perfect for rotis.
Why Kneading Matters
The main goal here is to develop gluten. A strong gluten network is what gives dough its elasticity and helps it rise. Without proper kneading, your rotis can end up more like crispy crackers.
How to Knead
Start by bringing your ingredients together in a bowl to form a shaggy dough. Transfer it to a flat surface dusted lightly with flour. Now, here's the fun part:
- Push and Fold: Use the heel of your hand to push the dough away from you. Fold it back over itself and give it a 90-degree turn.
- Repeat: Keep doing this push-fold-turn action for about 8-10 minutes. This consistent movement aligns the gluten strands.
- Feel the Dough: As you knead, the dough will become smoother and less sticky. When it's soft, stretchy, and bounces back slightly when poked, you're done.
Pro Tips
- Rest is crucial. If you're kneading for a long time and the dough becomes too elastic, let it rest for a few minutes.
- Don't worry if it's sticky at first. Resist the urge to add lots of extra flour; too much and your dough will be tough.
- Use the poke test. If you poke it and the indentation springs back, you're good to go.
Want numbers? A perfectly kneaded dough usually doubles in size when you let it rise, thanks to that strong gluten network. This might sound like a lot, but getting your hands in there and feeling the transformation is worth it!
Rest Time Matters
Okay, so you’ve got your soft dough ready, and you might think it’s time to cook. But hold on! Here's a trick that many people overlook—resting the dough. Letting your dough rest is a game-changer. It lets the gluten, which gives elasticity to your dough, relax and settle.
"Resting the dough allows for better moisture absorption and makes it easier to roll out," says Anjali Parikh, a renowned culinary expert in Indian cooking. "It's a simple step, but it makes your rotis incredibly soft."
So, how long should you let it rest? About 30 minutes is the sweet spot, but anything between 20 minutes to an hour can work depending on your schedule.
The Science Behind It
When you let dough rest, it absorbs water more completely. Think of it like a sponge soaking up liquid. A short rest period can make your dough more pliable, and a longer one results in fluffier rotis.
Tips for Success
- Cover the dough with a damp cloth or plastic wrap to lock in moisture.
- Store it in a warm place, like an unplugged microwave.
- Short on time? Even a 10-minute rest is better than none!
Trust me, this simple step can elevate your roti game and give you those soft, melt-in-your-mouth beauties that everyone loves.
Remember, achieving the perfect roti is all in the details, and resting your dough is one detail you don't want to skip.

Cooking Tips for Soft Roti
Once you’ve nailed the soft dough, how you cook your roti is the next big thing. A few tweaks can make them super soft and irresistible.
Heat Matters
The tawa, or pan, needs to be at the right temperature. Preheat it well—if water droplets sizzle instantly upon contact, you’re good to go. Too cold, and the roti becomes hard; too hot, and it burns quickly without cooking through.
Quick Flip Timing
Timing is everything. Once the roti hits the hot tawa, let it sit just long enough to develop light brown spots before flipping—roughly 30 seconds per side. Keep a close eye to ensure it doesn't overcook, which makes it hard.
Puff It Up
Roti should puff up when cooked correctly. After flipping, gently press the edges with a cloth or spatula to help it puff. That expansion indicates a super soft inside.
Butter It Up
If you want extra softness, brush each freshly cooked roti with melted ghee or butter. This locks in moisture and adds a lovely flavor.
Storage
Planning to make extra? Keep cooked rotis in an insulated container to trap steam and maintain softness. Wrap them in a clean cloth to avoid drying out.
Here's a quick glance at the ideal cooking times:
| Step | Time |
|---|---|
| First Side | 30 seconds |
| Second Side | 30 seconds |
| Puff Time | 15 seconds |
By following these tips, your rotis will not just be soft but melt-in-your-mouth delightful, completing your cooking journey from soft dough to perfect roti.