5 May 2026
- 0 Comments
Soft Roti Recipe Calculator
You just pulled a perfectly browned roti off the tawa. It looks beautiful, with those characteristic charred bubbles. You take a bite, but it feels like chewing on leather. Ten minutes later, it’s completely stiff. This is one of the most frustrating experiences in Indian cooking. You didn’t do anything wrong during the kneading or rolling stages, yet the final result is inedible.
The problem isn't magic; it's physics and chemistry. Specifically, it’s about how water interacts with gluten and starch over time. When you understand why roti gets hard after cooking, you can stop guessing and start fixing it. The culprit is usually not the heat of your stove, but rather the moisture balance within the dough and the storage method you use afterward.
The Science of Staling: Retrogradation
To fix the problem, we first need to understand what is happening inside the bread at a molecular level. The main reason roti hardens is a process called starch retrogradation. When you cook dough, the heat causes starch granules to swell and absorb water. This is called gelatinization. At this stage, the roti is soft and pliable because the starch molecules are relaxed and hydrated.
As the roti cools, those starch molecules begin to realign into a crystalline structure. They squeeze out the water they absorbed during cooking. This expulsion of water makes the bread firm and brittle. This happens faster in whole wheat products than in refined white flour because whole wheat contains bran particles that interfere with gluten formation and trap less moisture.
Gluten also plays a role. If your dough has too much developed gluten (from over-kneading) and not enough fat or liquid to relax it, the network becomes tight and rigid as it cools. Think of gluten as a net. If the net is too tight and dry, it snaps. If it’s loose and moist, it stretches. Your goal is to keep that net loose.
Dough Hydration: The Golden Ratio
The single biggest mistake people make when trying to prevent hard roti is using too little water. Many traditional recipes suggest adding water "as needed," which often leads to a stiff, crumbly dough. For soft chapatis, you need higher hydration.
Aim for a dough consistency similar to your earlobe. It should be soft, slightly tacky, but not sticky to the point where it tears when you roll it. Here is a practical rule of thumb:
- Whole Wheat Flour (Atta): Use approximately 50-55% water by weight. If you have 500 grams of atta, add 250-275 ml of water.
- All-Purpose Flour (Maida): Requires less water, around 45-48%, because it absorbs less liquid than whole wheat.
- Mixed Doughs: If mixing semolina (suji) or other grains, increase water slightly as these ingredients are thirsty.
If your dough feels stiff while rolling, don’t panic. Dip your fingers in warm water and lightly dampen the surface before rolling again. Dry rolling creates micro-tears that let steam escape during cooking, leading to a hard texture.
The Role of Fat and Resting Time
Fat is your secret weapon against hardness. Adding oil or ghee to the dough interferes with gluten development. This is known as "shortening" the gluten strands. Shorter strands mean a softer, more tender crumb. Without fat, the gluten network remains long and elastic, which turns tough upon cooling.
Add 1 tablespoon of neutral oil or melted ghee per cup of flour directly into the dough. Mix it thoroughly. This small addition makes a massive difference in mouthfeel.
Equally important is resting. After kneading, cover your dough with a damp cloth or plastic wrap and let it rest for at least 30 minutes. During this time, two things happen:
- Hydration completes: The flour fully absorbs the water, making the dough smoother and easier to roll without tearing.
- Gluten relaxes: The tension in the gluten network releases. If you roll the dough immediately after kneading, it will spring back, forcing you to roll it thinner and harder, which dries it out further.
In Sydney’s humid climate, I often find that covering the dough tightly prevents a skin from forming on top, which can dry out the outer layer of the dough balls.

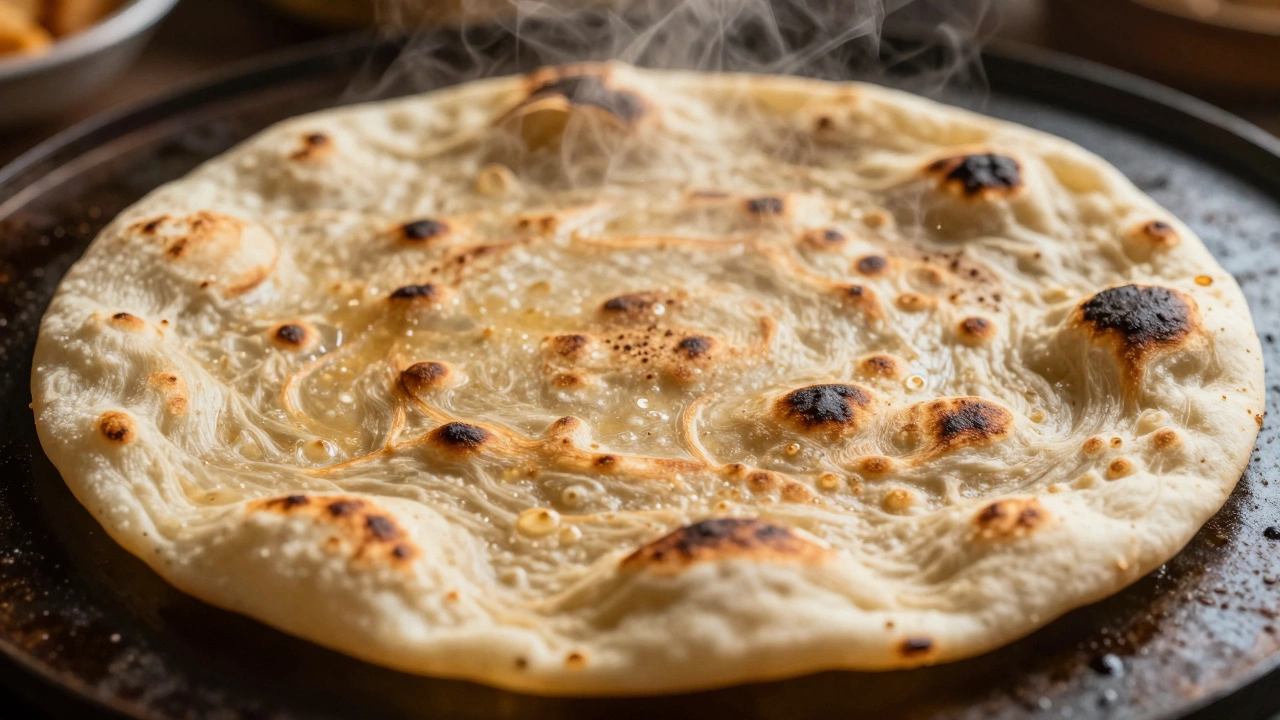
Cooking Technique: Steam vs. Char
How you cook the roti determines whether the interior stays moist or dries out completely. The goal is to cook the roti quickly enough to create steam pockets inside, but not so long that you evaporate all the internal moisture.
Use medium-high heat. If the flame is too low, the roti cooks slowly, drying out the exterior before the interior puffs up. If the flame is too high, you burn the outside before the inside is cooked.
Here is the critical step: flipping. Flip the roti frequently. Do not leave one side on the tawa for more than 15-20 seconds. Constant movement ensures even cooking and prevents the bottom from becoming rock-hard. Once both sides have spots, move the roti directly onto the open flame (direct heat). This intense heat causes the remaining water inside to turn to steam rapidly, puffing the roti like a balloon. This steam expands the air pockets, keeping the bread light.
Immediately after removing from the flame, brush the top with a thin layer of ghee or oil. This seals the surface, trapping moisture inside and preventing evaporation.
Storage Mistakes That Dry Out Roti
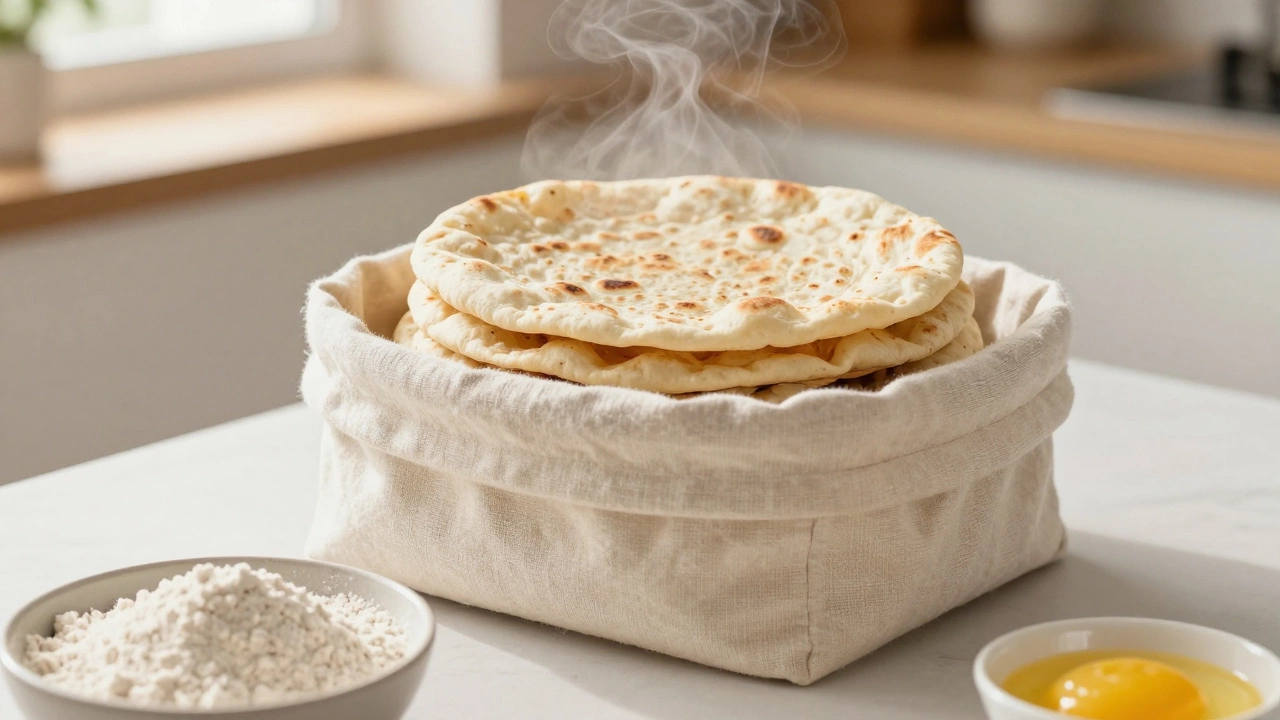
You can cook perfect rotis and still ruin them by storing them incorrectly. The enemy of soft roti is exposure to air. Air draws moisture out through evaporation.
Never stack hot rotis loosely on a plate. As they cool, they release steam. If that steam escapes, the roti dries out. Instead, place each cooked roti into an insulated container or a thick cotton cloth-lined basket. The trapped heat and steam continue to soften the bread as it rests.
If you are making rotis for lunchboxes, wait until they are completely cool before sealing them in an airtight container. Sealing warm rotis creates condensation, which can lead to sogginess or mold growth within hours. Cool them first, then seal. To reheat, sprinkle a few drops of water on the surface and microwave for 30-45 seconds. The water turns to steam, reversing some of the staling process temporarily.
| Problem | Cause | Solution |
|---|---|---|
| Stiff Dough | Insufficient water | Increase hydration to 50-55% of flour weight |
| Tough Texture | Over-kneading or no fat | Add oil/ghee to dough; knead only until smooth |
| Hard Exterior | Low heat cooking | Use medium-high heat; flip frequently |
| Dry Interior | No resting time | Rest dough for 30+ minutes before rolling |
| Rapid Staling | Exposure to air | Store in insulated container while warm |
Flour Quality and Grain Type
Not all whole wheat flours are created equal. In Australia, you might find different brands of atta with varying particle sizes. Finely milled flour produces softer rotis than coarse, rustic millings. Coarse bran acts like tiny knives, cutting through the gluten network and creating rough edges that feel gritty and hard.
If you consistently get hard rotis despite following all techniques, try switching to a finer grind. Alternatively, mix 10-15% maida (all-purpose flour) into your whole wheat dough. Maida has higher gluten content and finer texture, which improves elasticity and softness without sacrificing too many nutrients.
Another factor is the protein content of the wheat. High-protein flour develops more gluten, which can lead to toughness if not balanced with sufficient water and fat. Look for flour labeled "soft wheat" or "plain flour" rather than "bread flour" or "high extraction" if softness is your priority.
Environmental Factors
Humidity affects dough behavior significantly. In dry climates or during winter months with indoor heating, water evaporates faster from the dough. You may need to add an extra 10-20ml of water compared to summer days. Conversely, in very humid conditions, the dough may feel stickier, requiring a dusting of dry flour while rolling, but avoid adding excess flour to the dough itself, as this dilutes the hydration ratio.
Altitude also matters. At higher altitudes, atmospheric pressure is lower, causing water to boil at a lower temperature. This means rotis cook faster on the surface but may remain undercooked inside. Reduce the flame slightly and ensure the roti puffs fully before removing it.
Reheating Strategies for Leftovers
Leftover roti inevitably hardens due to continued starch retrogradation overnight. However, you can revive it. Microwaving alone often makes rubbery. The best method is the "steam-reheat" technique.
Place the roti on a microwave-safe plate. Sprinkle 3-4 drops of water over the surface. Cover with a damp paper towel or another microwave-safe plate. Microwave on high for 30-45 seconds. The water creates steam, which penetrates the starch crystals, temporarily softening them. For crispier results, reheat on a hot tawa for 10 seconds per side after microwaving.
Alternatively, wrap the roti in aluminum foil and place it in a preheated oven at 180°C for 5 minutes. The foil traps steam generated from the residual moisture in the bread, restoring softness.
Why does my roti become hard immediately after taking it off the heat?
This is usually due to insufficient hydration in the dough or lack of fat. If the dough was too stiff, the gluten network is tight and contracts rapidly as it cools. Adding oil or ghee to the dough and ensuring proper water ratios (50-55%) keeps the gluten relaxed and the bread soft.
Can I use yogurt to make softer rotis?
Yes. Yogurt adds acidity and fat, both of which tenderize the gluten. Replace 10-15% of the water in your recipe with plain yogurt. The lactic acid breaks down gluten strands slightly, resulting in a softer, more flavorful roti. However, yogurt-based rotis may not puff as easily due to the denser batter.
Is it better to store roti in the fridge or freezer?
For short-term storage (1-2 days), the refrigerator is fine if sealed tightly to prevent drying. For longer storage, freeze the rotis. Freezing halts starch retrogradation. Wrap each roti individually in plastic wrap, then place in a freezer bag. Reheat directly from frozen using the steam-reheat method described above.
Why do store-bought rotis stay soft longer than homemade ones?
Commercial rotis often contain preservatives, emulsifiers, or higher levels of fat and sugar to extend shelf life and maintain softness. Homemade rotis rely solely on natural ingredients and proper technique. While store-bought options are convenient, they may lack the authentic taste and nutritional profile of fresh, whole-wheat homemade rotis.
Does the type of salt affect roti texture?
Salt strengthens gluten. Using too much salt can make the dough tougher and harder to roll. Use standard table salt or sea salt sparingly-about 1 teaspoon per 2 cups of flour. Avoid kosher salt unless you adjust for its larger crystal size, as it dissolves slower and may create uneven seasoning and texture.