25 Sep 2026
- 0 Comments
Soft Chapati Diagnostic & Fix Tool
Is your roti tough as leather? Use this tool to identify the culprit among the four pillars of softness: Hydration, Resting, Heat, and Fat.
Adjust the settings on the left and click "Analyze" to see why your chapatis aren't turning out soft.
You know that feeling when you pull a hot chapati off the tawa, it looks golden and promising, but one bite reveals it’s tough as leather? It’s frustrating. You followed the recipe, you kneaded the dough, yet the result isn’t the pillowy softness you see in restaurants or at your grandmother’s house. The secret isn’t magic; it’s physics and chemistry happening on your stove. Most people miss three critical steps: hydration levels, resting time, and heat management. If you fix these, you’ll never serve a rubbery roti again.
Quick Summary / Key Takeaways
- Hydration is key: Use warm water and add enough so the dough feels like an earlobe, not clay.
- Resting matters: Let the dough sit for at least 20-30 minutes to relax gluten strands.
- Heat control: Cook on high heat initially, then lower slightly for even cooking without burning.
- Fat helps: A little ghee or oil in the dough keeps layers separate and soft.
- Steam retention: Wrap cooked chapatis in a cloth immediately to trap steam and soften them further.
The Dough Foundation: Hydration and Kneading
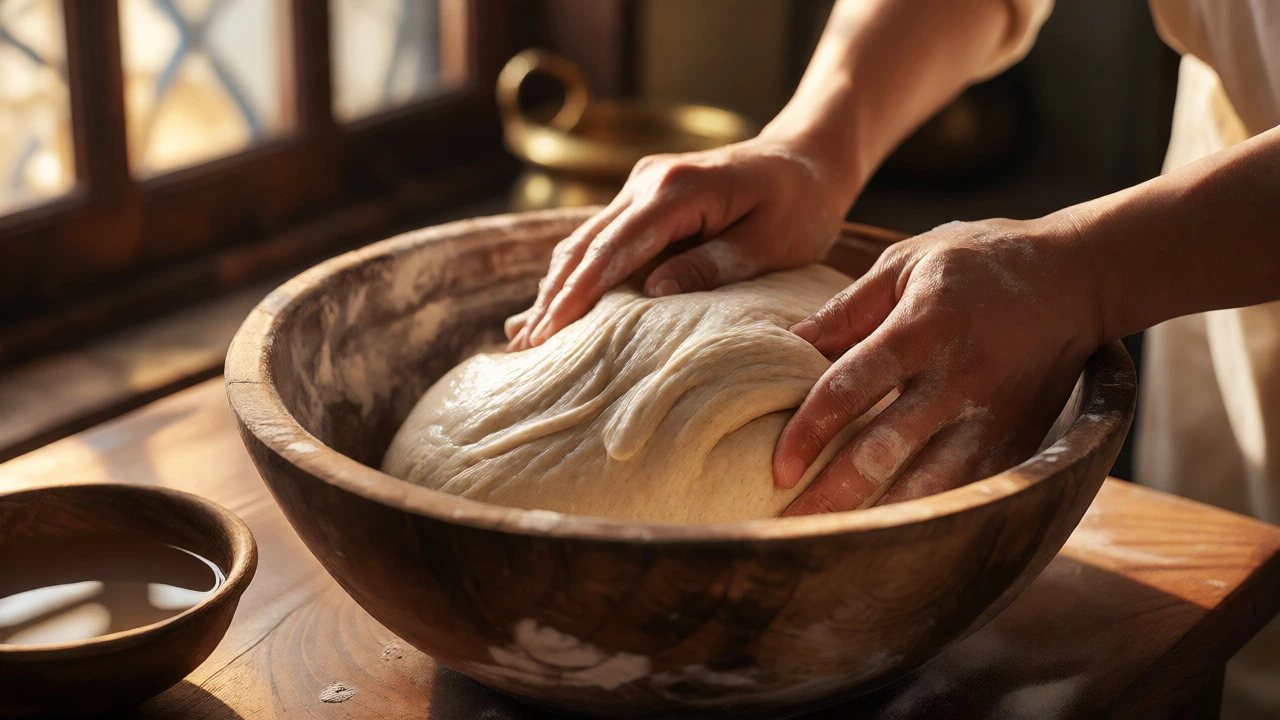
Start with the flour. Most home cooks use standard whole wheat flour (atta). But here’s the thing: not all atta is created equal. Some brands absorb more water than others. If you stick to a rigid "1 cup flour, 1/2 cup water" rule, you might end up with dry dough. Instead, go by feel. Add warm water gradually. Warm water helps hydrate the starches faster and makes the dough more pliable. Aim for a dough that is slightly tacky to the touch but doesn’t stick to your fingers excessively. Think of the texture of your earlobe. That’s your target consistency.
Kneading is where many people rush. You need to develop gluten, but you also need to align it properly. Knead for at least 5 to 7 minutes until the dough is smooth and elastic. When you press it with a finger, it should spring back slowly. If it springs back instantly, it’s over-kneaded or too tight. If it stays indented, it’s under-kneaded. This balance ensures the chapati can stretch thin without tearing, which is crucial for thin, soft layers.
The Hidden Step: Resting Time
This is the most skipped step, and it’s the biggest reason for hard chapatis. After kneading, cover the dough with a damp cloth and let it rest for 20 to 30 minutes. Why? Because kneading creates tension in the gluten network. Resting allows those strands to relax. If you try to roll out tight, un-rested dough, it fights back. It shrinks, tears, or requires excessive force, which compacts the structure. Compacted structure equals hard bread. Relaxed structure equals tender bread.
During this rest, the flour fully absorbs the moisture. This uniform hydration prevents dry spots in the final cook. If you’re short on time, even 10 minutes helps, but 30 minutes is the sweet spot. While the dough rests, prepare your other ingredients. Chop onions, make dal, or set the table. Multitasking works perfectly here because the dough needs zero attention during this phase.
Rolling Technique: Thickness Matters
Once rested, divide the dough into equal balls. Size matters. For a standard tawa (flat pan), balls should be about the size of a golf ball. Too big, and you’ll struggle to roll them thin. Too small, and they’ll dry out quickly. Dust your rolling pin and board lightly with dry flour. Heavy dusting creates a barrier that prevents sticking but also interferes with the natural bonding of the dough layers. Keep it minimal.
Roll from the center outward, rotating the dough every few strokes. This ensures an even circle. Uneven thickness leads to uneven cooking-some parts burn while others stay raw. Aim for a thickness of about 1/8th of an inch. Thicker chapatis take longer to cook, drying out the interior before the exterior browns. Thin chapatis cook fast, retaining internal moisture. If you want extra softness, apply a tiny drop of ghee or oil to the rolled-out dough before placing it on the tawa. This fat coats the gluten strands, preventing them from bonding too tightly during heating.
Cooking on the Tawa: Heat Management
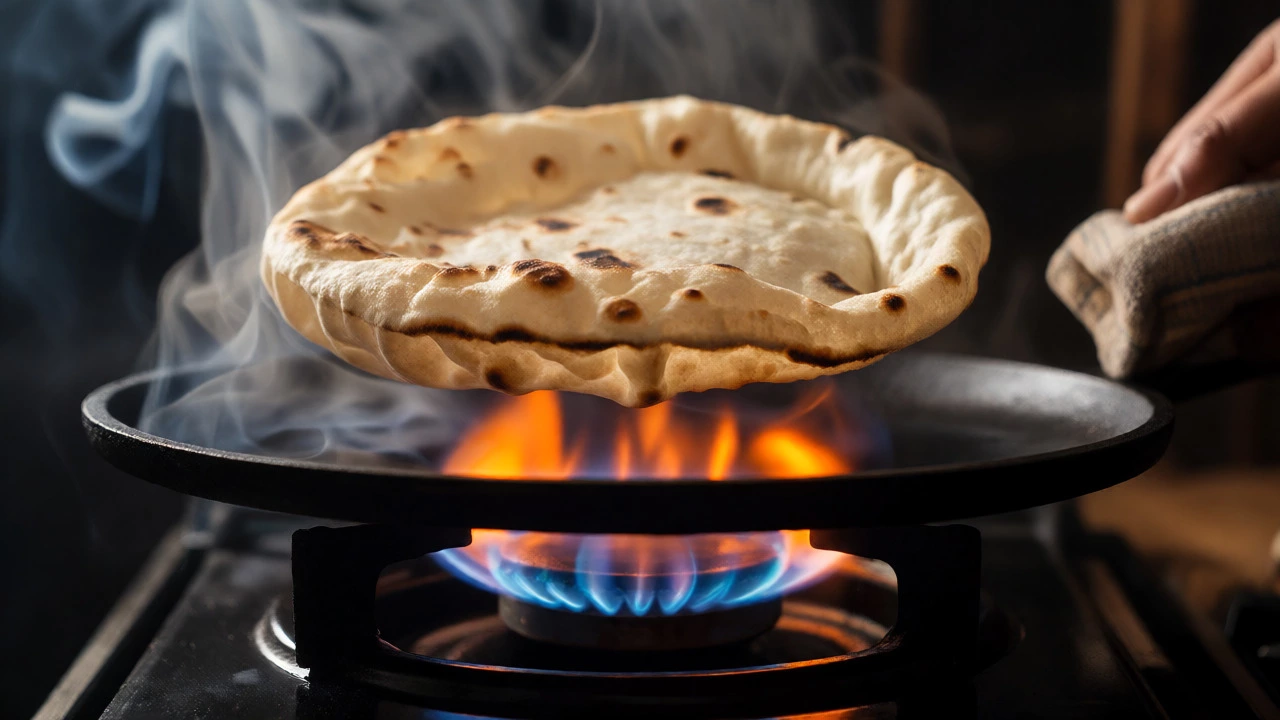
Preheat your tawa thoroughly. It must be hot enough that a drop of water sizzles and evaporates instantly. Place the rolled chapati on the hot surface. You’ll see small bubbles form within seconds. Wait for these bubbles to appear across the surface, then flip. This first side gets the initial char and structure. Flip it to the second side. Now, increase the heat slightly if possible, or move the chapati to the edge of the flame if using gas.
The goal is rapid expansion of steam inside the chapati. This steam puffs up the layers, separating them. If the heat is too low, the moisture escapes slowly, resulting in a dense, hard bread. If the heat is too high, the outside burns before the inside puffs. Find that balance where the chapati puffs within 30-45 seconds per side. Press gently with a cloth or spatula after flipping to encourage puffing. Don’t poke holes; you want to trap that steam.
The Final Touch: Steaming and Storage
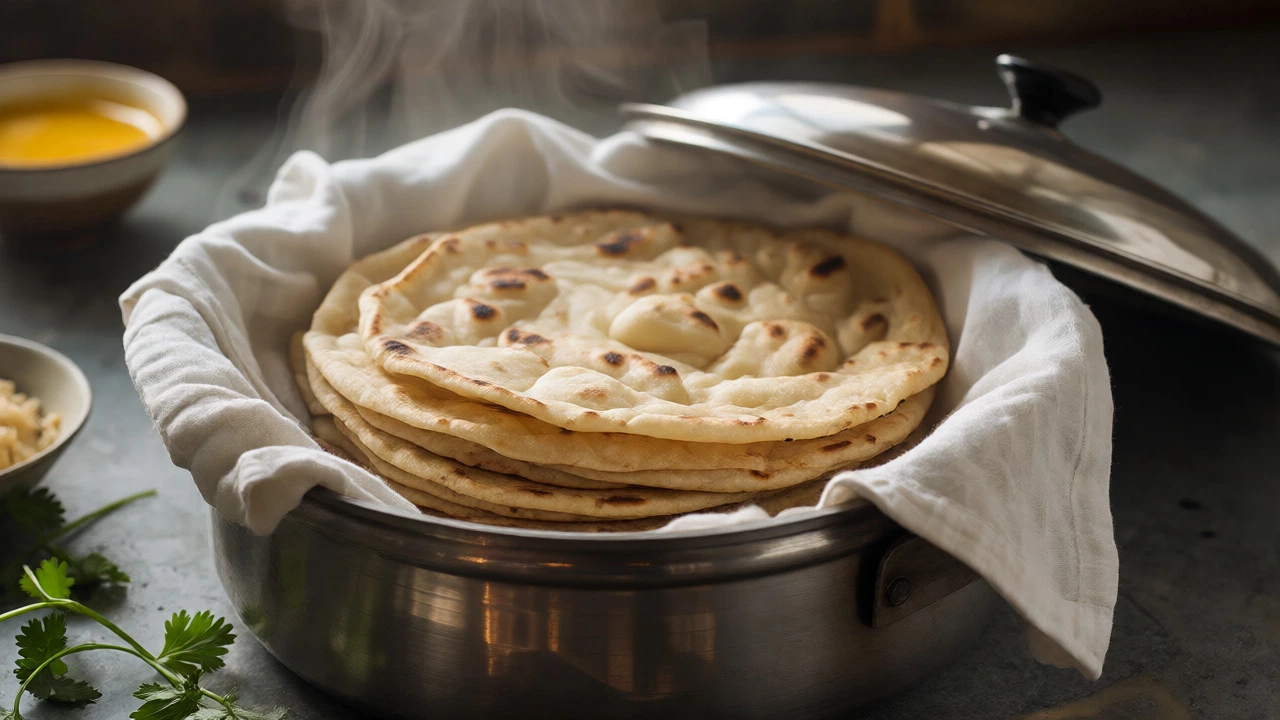
As soon as you remove a chapati from the tawa, wrap it in a clean cotton cloth or place it in a insulated container lined with foil. Do not stack them naked on a plate. The residual heat continues to cook the chapati gently, and the trapped steam re-hydrates the surface. This process, known as "steaming," turns a crispy-cooked chapati into a soft, pliable one. Leave them wrapped for at least 5 minutes before serving.
If you’re making a batch, keep the finished ones in a casserole dish or roti box. Avoid plastic bags, which can make them soggy or cause condensation issues. For storage, let them cool completely before refrigerating. Reheating requires care. Sprinkle a few drops of water on the cold chapati and microwave it for 15-20 seconds, or heat it directly on a low-flame tawa for 10 seconds per side. Never microwave a dry chapati; it will turn rock-hard due to moisture loss.
Troubleshooting Common Issues
Let’s look at why things go wrong. Here is a quick diagnostic guide based on common observations:
| Problem | Likely Cause | Solution |
|---|---|---|
| Hard and Tough | Dough was too dry or under-kneaded. | Add more water next time; knead longer until elastic. |
| Shrinks While Rolling | Dough wasn't rested long enough. | Let dough rest 30+ minutes; cover tightly. |
| Burns Quickly | Tawa too hot; no fat used. | Lower heat slightly; add ghee to dough or surface. |
| Does Not Puff | Rolling too thick or heat too low. | Roll thinner; ensure high initial heat. |
| Rips Easily | Gluten not developed; dry flour excess. | Knead better; reduce dusting flour. |
Advanced Tips for Restaurant-Quality Softness
If you want that melt-in-your-mouth texture, consider adding a teaspoon of yogurt or milk powder to the dough. Dairy fats coat the gluten differently than vegetable oils, creating a more tender crumb. Alternatively, mix a small amount of maida (all-purpose flour) with your whole wheat atta. Pure whole wheat has less gluten strength and can sometimes lead to denser results. A 90:10 ratio of atta to maida often yields a softer, more pliable chapati without sacrificing the health benefits entirely.
Another trick is using hot water instead of warm. Hot water gelatinizes the starches more effectively, leading to a softer texture upon cooling. However, be careful not to use boiling water, as it can kill any yeast if you’re experimenting with fermented versions, though traditional chapatis don’t use yeast. Stick to very hot tap water.
Finally, practice your flipping technique. Speed matters. The longer the chapati sits on one side without moving, the more likely it is to burn or dry out. Quick, confident flips distribute heat evenly. Watch the bubbles. They are your signal. When 70% of the surface shows bubbling, it’s time to flip. Timing is everything.
Why do my chapatis become hard after cooling?
Chapatis harden primarily due to starch retrogradation, where starch molecules realign and crystallize as they cool, expelling moisture. To prevent this, ensure you wrap them in a cloth immediately after cooking to retain steam. Adding a small amount of fat (ghee/oil) to the dough also slows down this process by coating the starch granules. Storing them in an insulated container rather than open air helps maintain temperature and humidity.
Can I make soft chapatis without ghee?
Yes, absolutely. While ghee adds flavor and tenderness, proper hydration and resting are more critical for softness. You can use neutral oil, butter, or even skip added fat entirely if your flour quality is good and you master the steaming technique after cooking. The steam trapped in the cloth post-cooking does most of the work in softening the texture.
How long should I rest the dough?
A minimum of 20 minutes is recommended, but 30 to 60 minutes is ideal. During this time, the gluten relaxes, making the dough easier to roll thin without shrinking. Longer resting times (up to overnight in the fridge) can actually improve flavor and texture, as enzymes break down proteins slightly, resulting in a more tender final product.
What type of flour is best for soft chapatis?
Look for finely ground whole wheat flour (chakki fresh atta) with moderate protein content. Extremely coarse flour tends to produce rougher textures. Brands labeled "for rotis" are usually optimized for this. Mixing in 10-20% all-purpose flour (maida) can significantly improve softness and elasticity if pure whole wheat feels too dense.
Why does my chapati tear when I roll it?
Tearing usually indicates insufficient gluten development or inadequate hydration. If the dough is too dry, it lacks elasticity. If it hasn't been kneaded enough, the gluten network is weak. Ensure you knead until the dough passes the "windowpane test" (stretching a small piece thinly without breaking) and that the dough feels moist, not crumbly.